Last Wednesday I had time to work on my Brooklyn handbag again. This time I would be sewing properly, stitching everything together that I had prepared during the previous sessions.
First I took a look at the zipper. The amount of extra glue from my previous session didn’t seem so bad, and it would probably be covered after sewing. Phew. So then I focused on sewing the outside and lining panels and the zipper with the right (or wrong) sides together properly. Putting a bag together is a little bit like a 3D puzzle that you have to solve inside out. Taking your time to verify the steps can save time afterwards if you don’t have to undo and fix things.
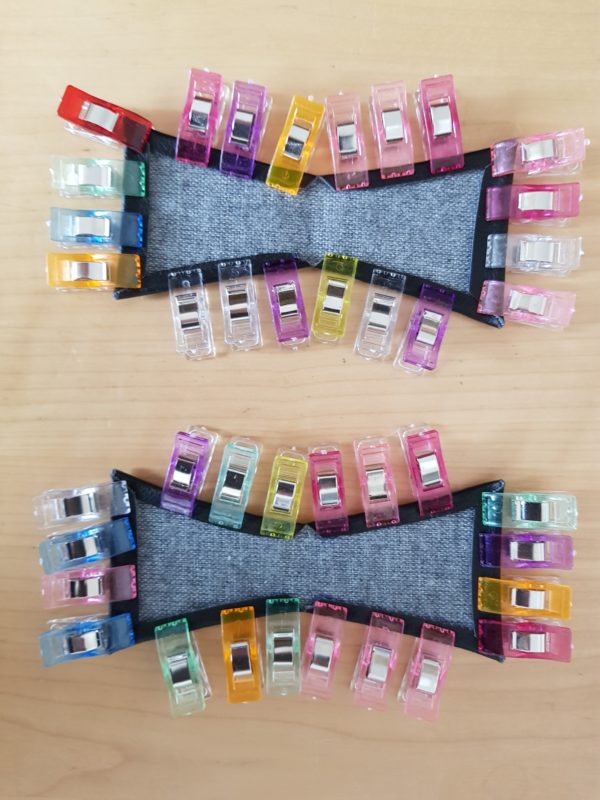
I also still had to make some straps: the bag handles, the shoulder strap, and the attachments at the sides. My fabric glue and clips were working hard again!
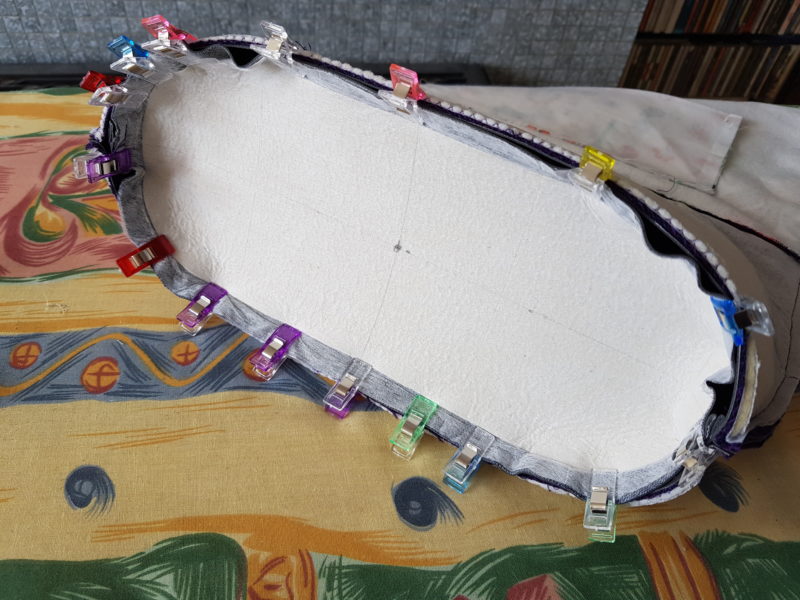
When I had sewn the panel to the zipper (very carefully), it was time to put in the bottom. I tried to put it in, but the edges didn’t match. I matched the four middle points, but then I was a bit lost how to get the rest into place. So I tried to just keep clipping. But there was too much fabric on the bottom to fit into the bag. Hm.
I tried sewing around the bottom, but it was really hard. The layers of fabric were very thick, especially at the sides (with the extra bottom straps in between) and my sewing machine couldn’t do it. It stopped and gave error beeps. With some pulling and moving, I managed to get the needle back up and tried again. Same result. It was a real pain and I was afraid that I was breaking my machine. And the curves didn’t work, the fabric moved when I took off the clips and it didn’t fit anymore or anyway… But I managed to go around the whole thing, with lots of frustration.
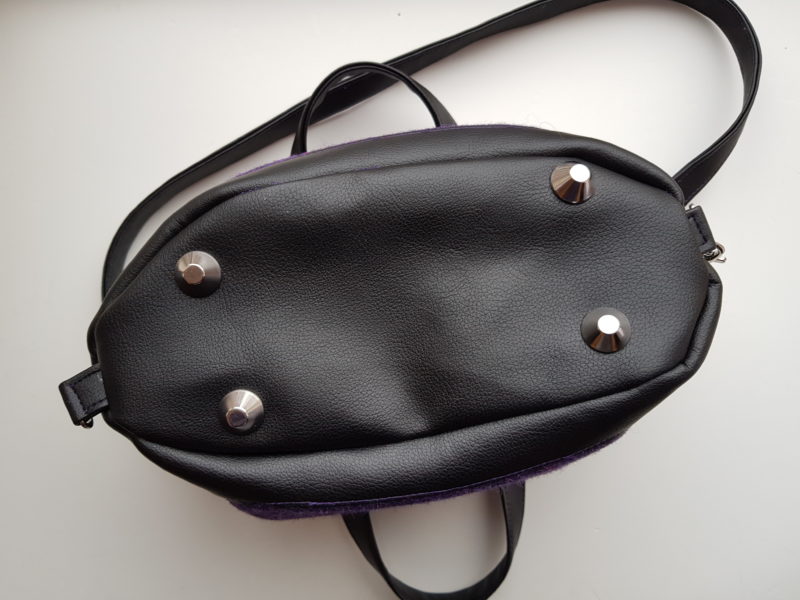
That’s when I added a little something that was not in the pattern: purse feet. They were a bit large for the bag, but I didn’t have smaller ones. I should have added them before sewing the bottom to make it easier to put them in, but hey, at least I remembered. And putting them in at this point worked too.
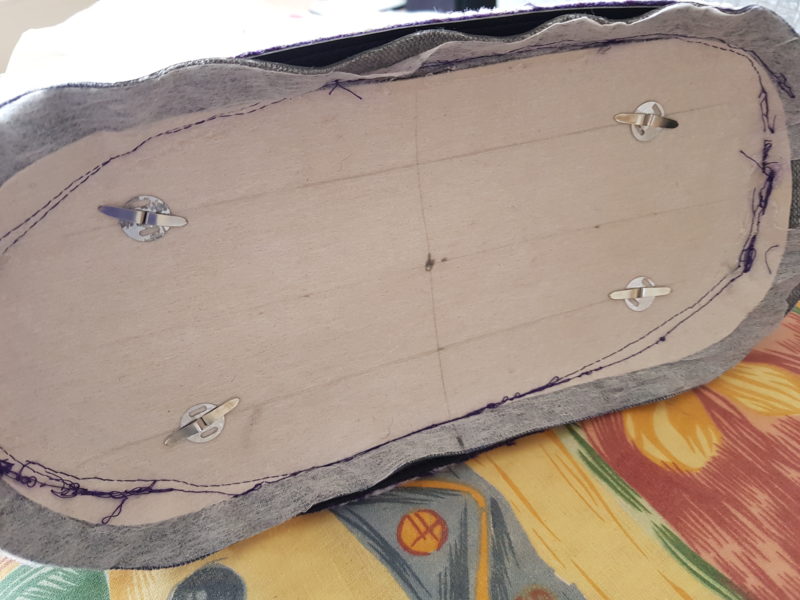
I ironed some interfacing on top of the purse feet holders to make sure that they stayed in place and that the sharp ends were covered. Then I sewed the lining bottom into the lining and turned the bag outside out.

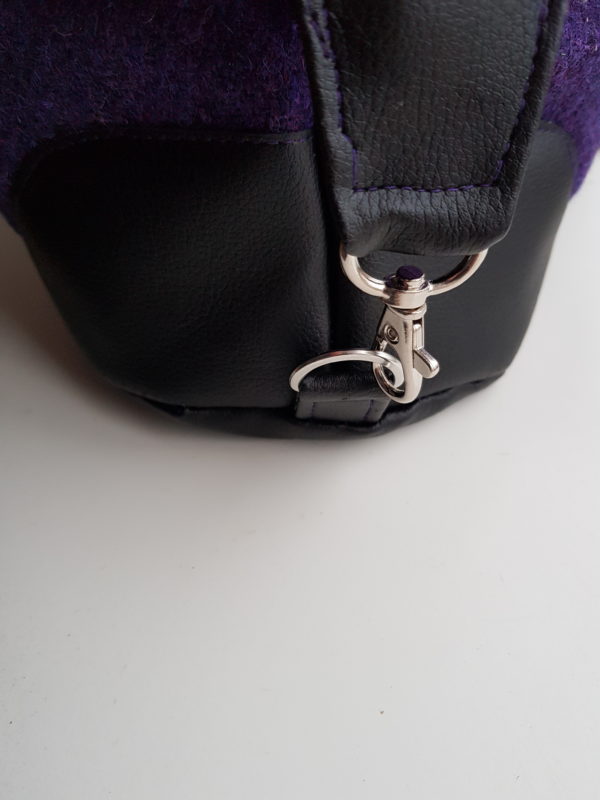
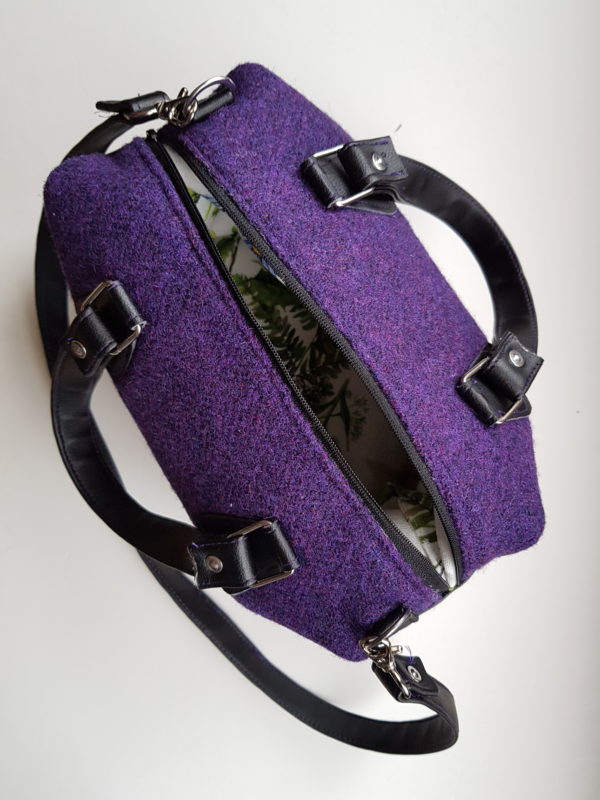
Next up: the straps for the sides. The bag is boxed at the top and the corner triangles are attached to the bottom D rings with swivel clasps.
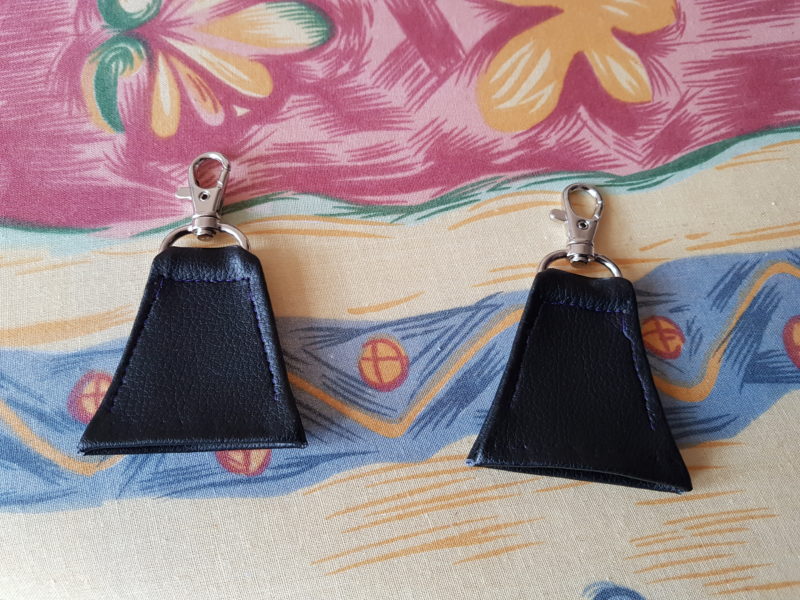
These little triangles fit over the boxed ends of the bag. Ingenious! My stitching was a bit wonky, because the four layers of faux leather were hard to handle. I attached the straps with some difficulty, clipped the clasps to the bottom, and started working on the handles and shoulder strap. Those were relatively easy to make. Attaching them was another story. If I were to sew them to attach them to their clasps, I would have to sew through eight layers of faux leather. I tried, and failed. What to do? Then I remembered that I still had rivets somewhere. This would be an excellent project to use them on. And yes, I found them. It was not easy to put them in place, but in the end I managed. I was done!
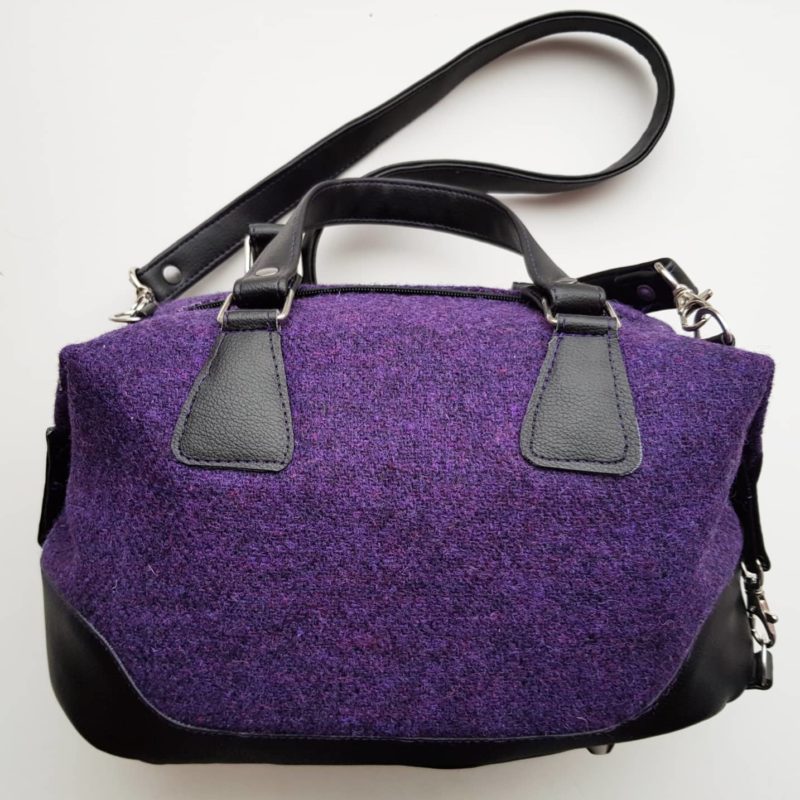
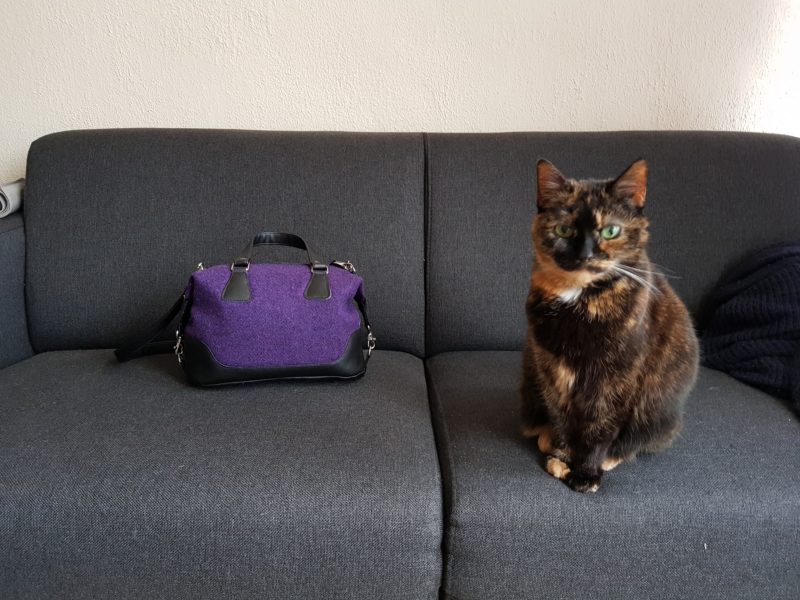
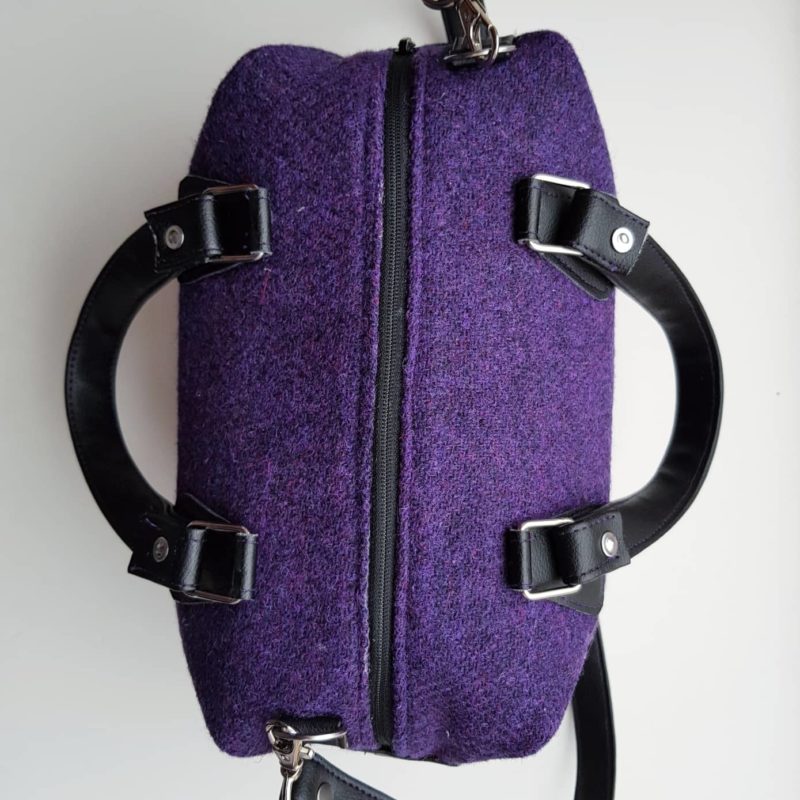
It’s not all straight. You see that the bottom is not even, I did mess up when putting it in. The straps at the bottom are also not centred. But I made it and I’m proud!
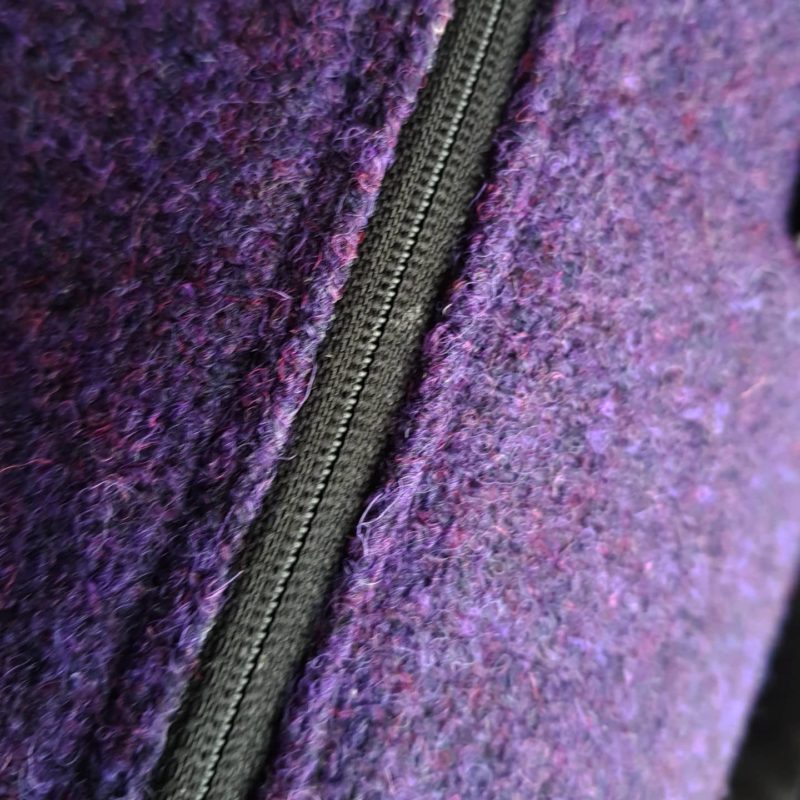
I am happy with how I put in the zippers and with the top stitching next to it. And I find it very cool that I made my own straps and handles.
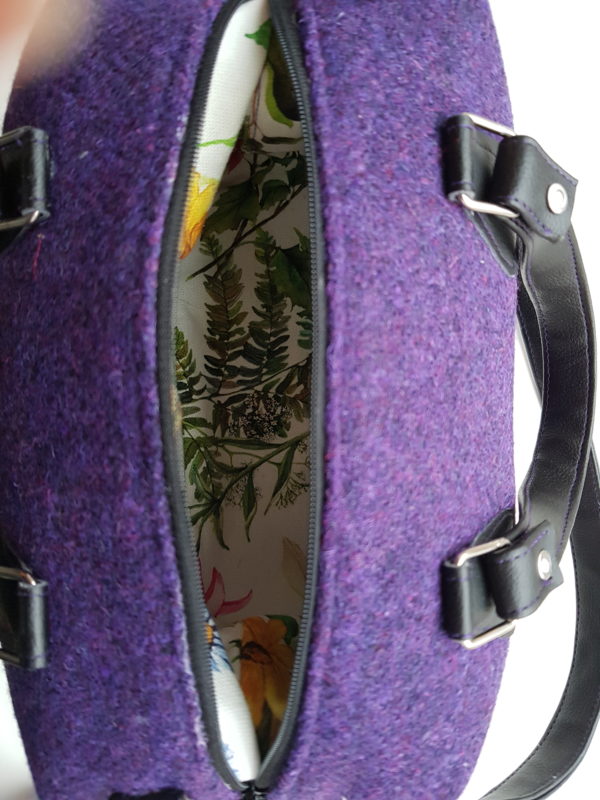
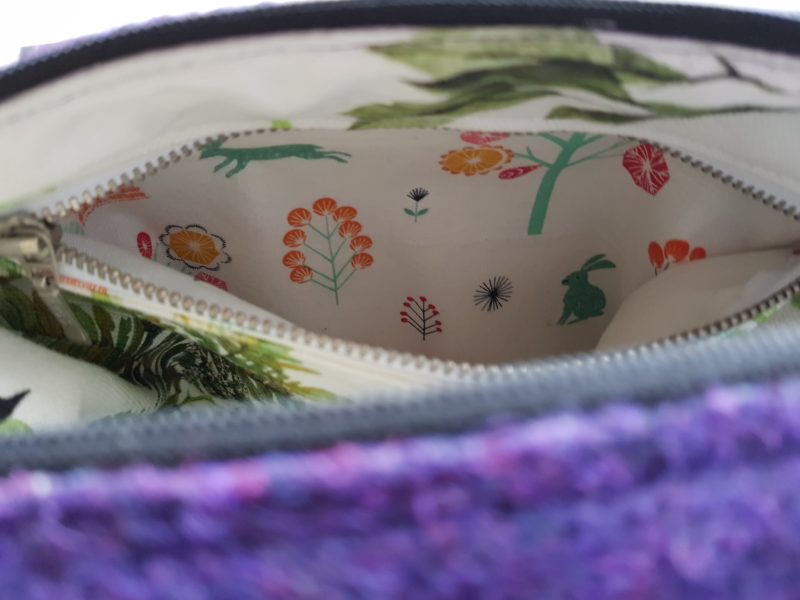
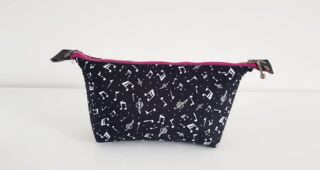
I love the different fabric in the inside pocket. It’s a sweet surprise.
Then I looked at the bottom again, and at how the bag stands, and I was a bit disappointed. What went wrong? Why didn’t it fit well? Did I do something wrong? I remembered that I had forgotten to trim the excess fabric. Could that be it? But the shape was all wrong as well… I thought about it when I was lying in bed and looked up a YouTube video of someone putting in a bottom panel. She had a clever idea: using staples! Hmmm…
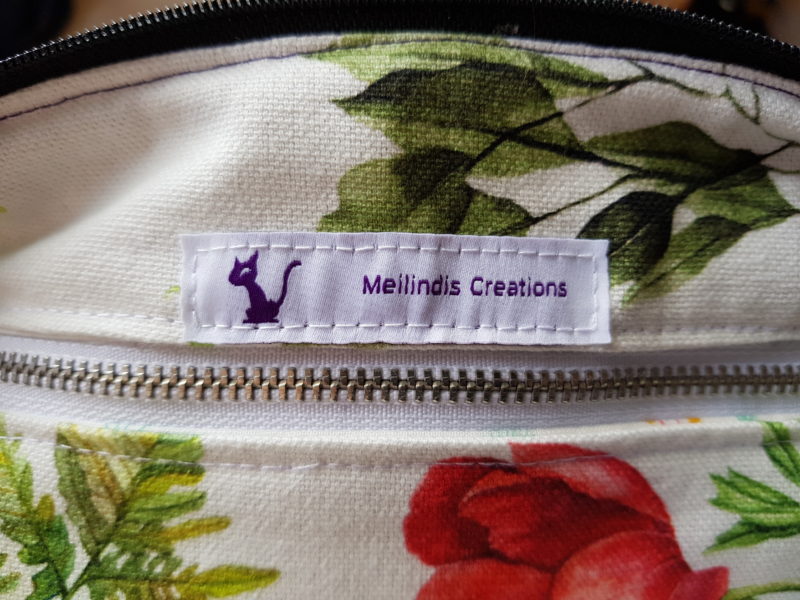
The next day I received mail. It was a little set of labels that I ordered for my handmades. They look cute!
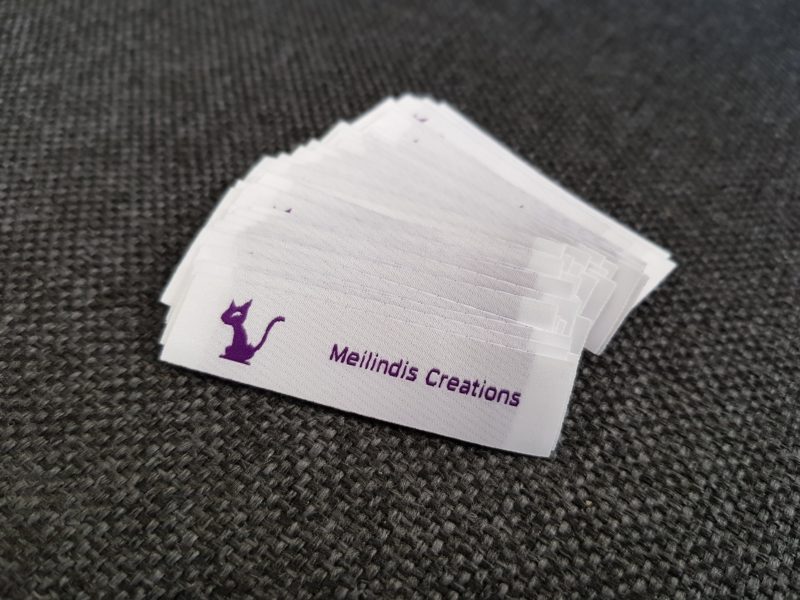
I decided to hand-sew one in, above the inner pocket. It turned out quite neat, I think!
I looked at the bag again and then I knew it: I had to give that bottom another go. I would never be content with it as it was now, and even if I couldn’t fix it, at least would have I tried and probably learned something. So I started taking the bag apart again. I unpicked the stitches around the inner and outer bottoms and tried putting the outside bottom piece in again.
Then I realised what I had done wrong previously. I was focused on making sure that the fabric didn’t scrunch up, but it was supposed to scrunch up in the curves! Just not ad the point where I was sewing. There was excess fabric around the bottom piece, so it had to go somewhere, as long as the centre piece of the bottom was in the right place! Clipping it correctly was not that hard anymore now that I understood how it worked.
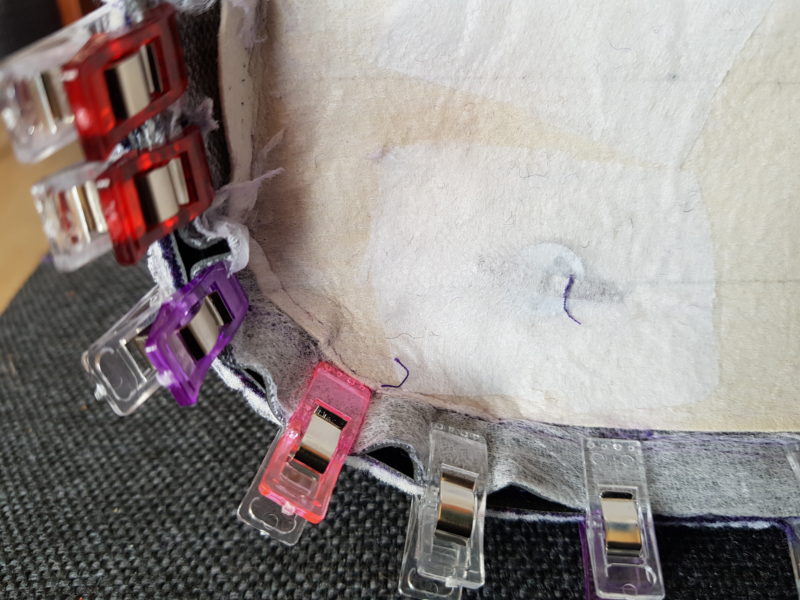
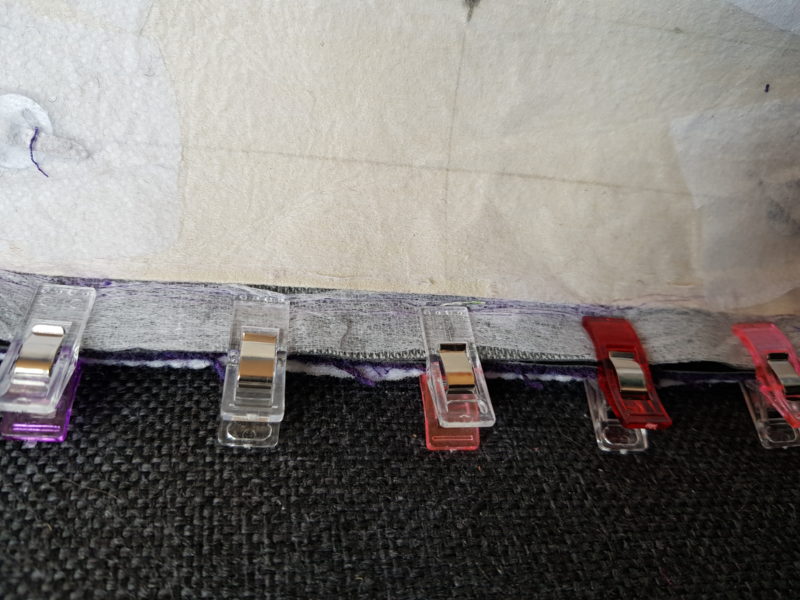
Another thing that tripped me the first time was the fabric moving as I removed the clips during sewing. The scrunchy bit had to be folded here and there to keep things in place. So I decided to implement the solution from the YouTube video: staples! I put them in close to the edge because I knew that I would trim it down to 6mm later (removing the staples in the process).
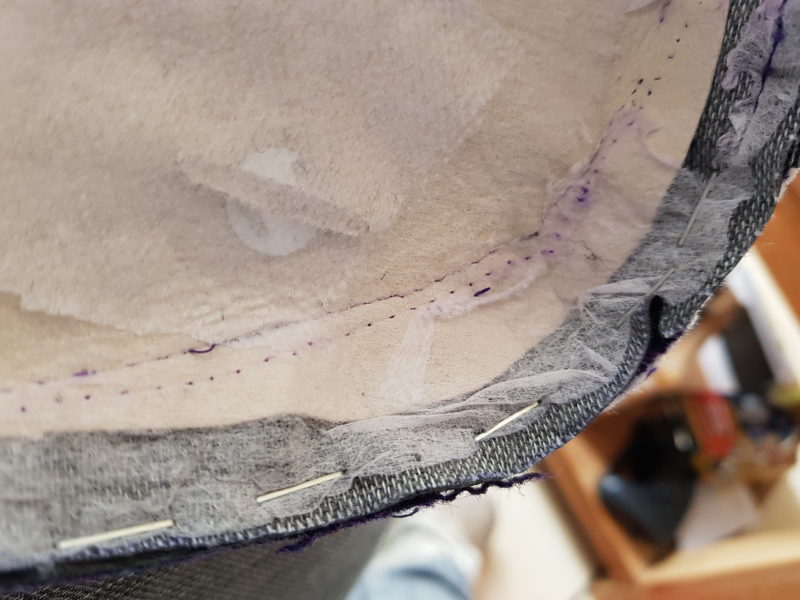
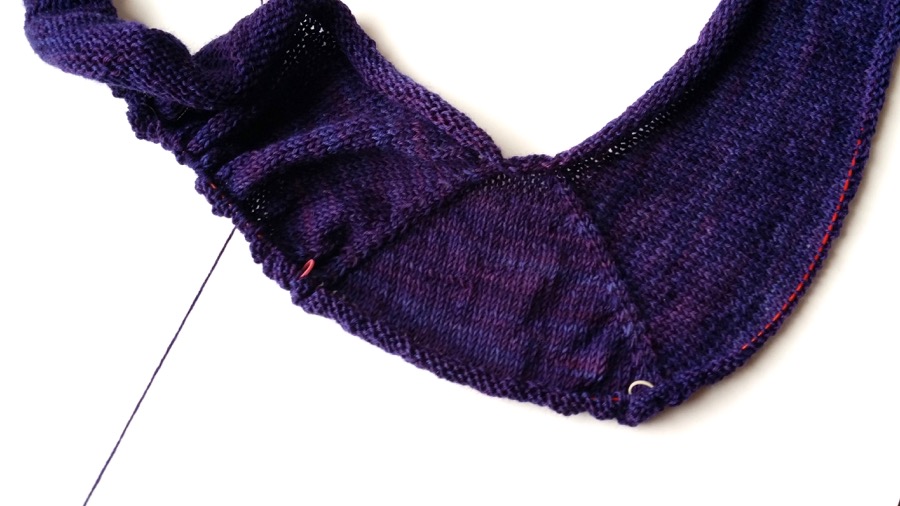
See how far my previous stitching was from the edge of the bottom piece? No wonder it didn’t work! I started sewing and stayed right next to the reinforcement piece this time. The curves went well. But then I came to the thick parts and of course my machine couldn’t handle them (again). I decided to just skip the thick bits, and hand-sew them later.
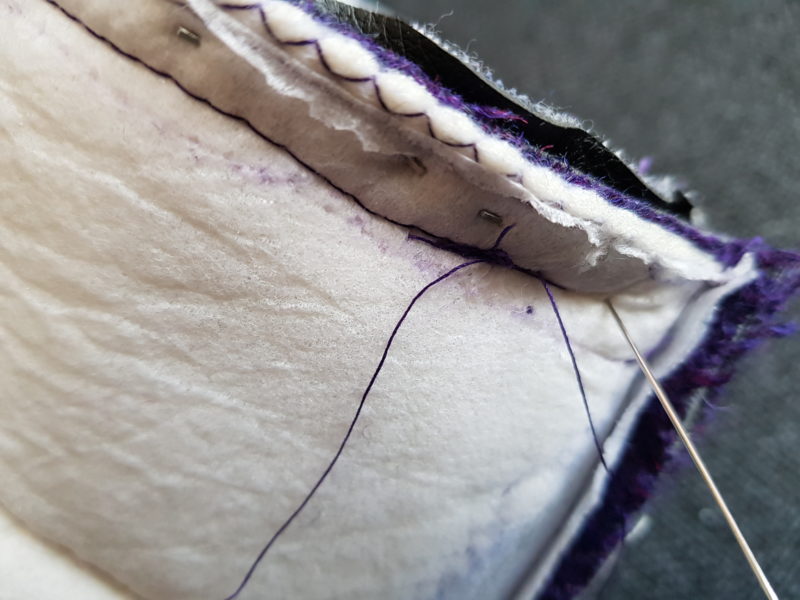
It was hard to push the needle through the thick bits. I need a thimble… I pushed the dull end of the needle into my thumb once and it bled a little. Ouch! But all in all, it worked out, and the bottom piece was in! I repeated the process (without the staples) for the lining, cut off the excess fabric (and staples), turned the bag outside out again, sewed the hole shut and voilà!
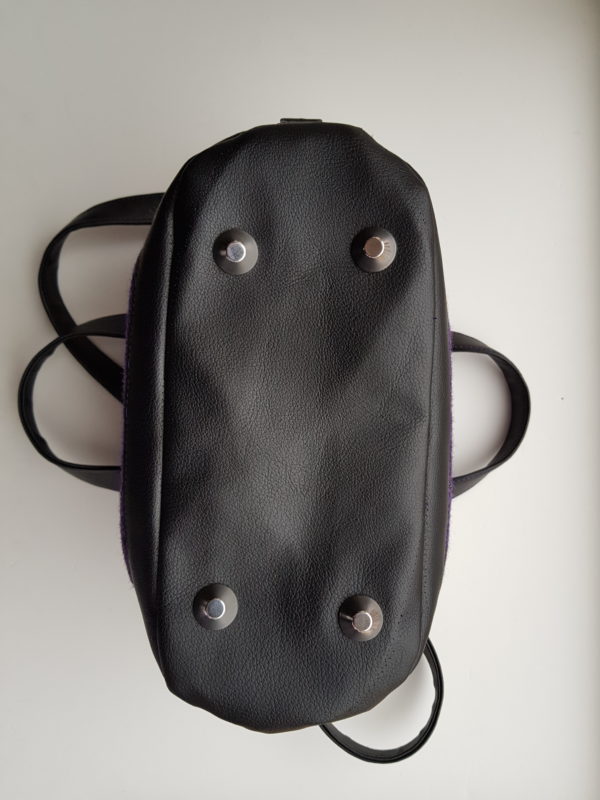
The bottom looks much better! The feet are symmetrical now, and the curve is nicer. Not perfect, but much better than before. The reinforcement piece has been folded a few times with all the inside-out-and-in-again, but it is more or less holding its shape.
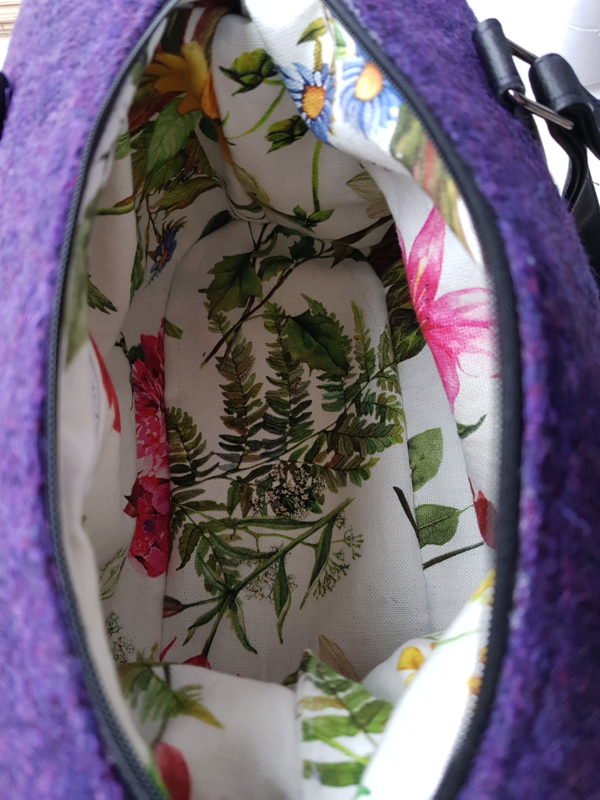
The lining looks better too. The bottom piece is larger now and it fits better.
The bottom straps are now smack in the centre of the sides, which looks great, and the bag doesn’t pull sideways anymore.
The improved details make it look a bit more professional in my opinion. I’m so glad that I took the plunge and fixed my mistake! And I’ve learned so much in the process. I’ve become more familiar with my sewing machine, I’ve found out that fabric glue is a useful thing, I’ve put in zippers, created straps and handles, worked with faux leather, tweed, and cotton, hand-stitched here and there, and used rivets. And I’m so so happy with my new bag!