It’s kind of a hot item at the moment (or I’m noticing it more): visible mending. I recently purchased the wonderful book Visible Creative Mending by Flora Collingwood-Norris. It’s very inspiring, and the writer also has a lovely Instagram page. I also really admire @milli_and_the_bee‘s work. Visible mending is an art, and it inspires people to fix and personalise their items with creative patches, reducing waste. A win-win!
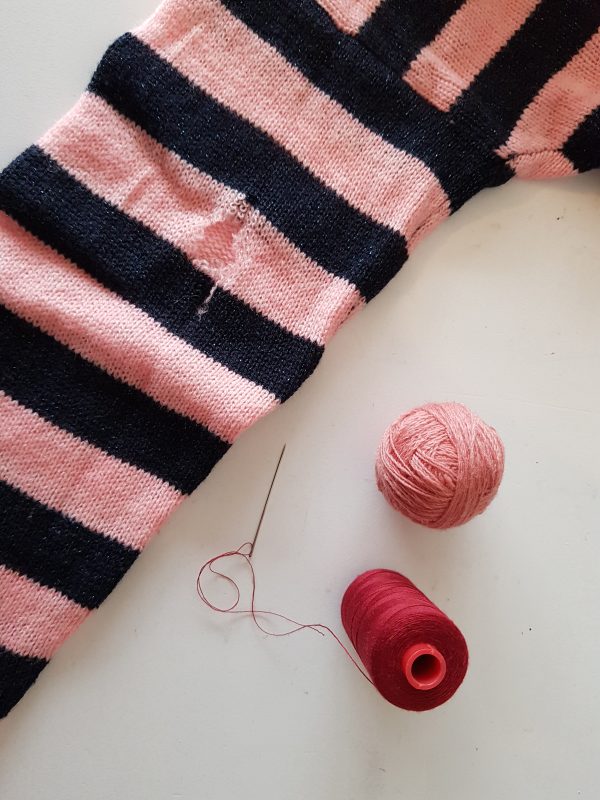
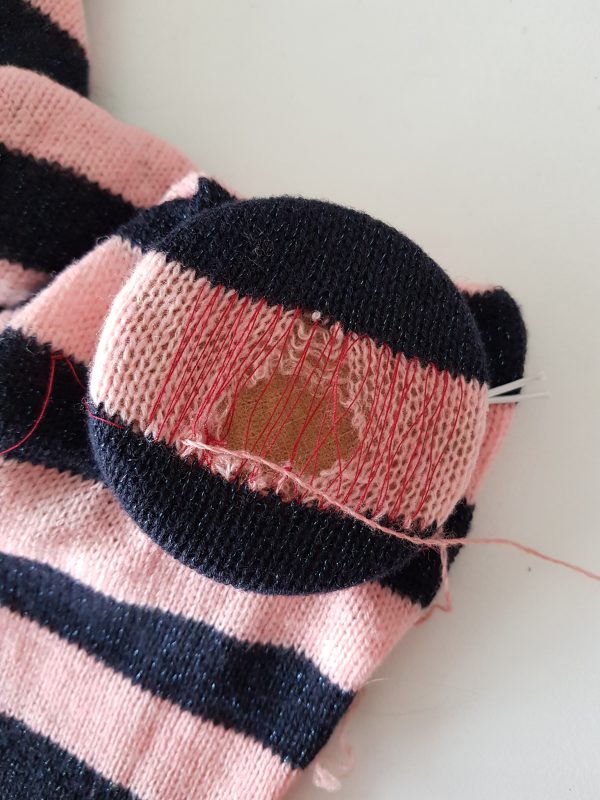
I was eager to learn how to mend knitwear. Even though I’m a proficient knitter, I had never really focused on mending items. But that was about to change. My sister-in-law asked me if I knew how to fix her favourite cardigan. There was a hole in the elbow that was unraveling slowly. And she was okay with being a guinea pig for me learning a new skill.
I read the book and decided that Swiss darning would be preferable, to make sure that the patch would have the same elasticity as the rest of the cardigan. So I focused on that chapter first.
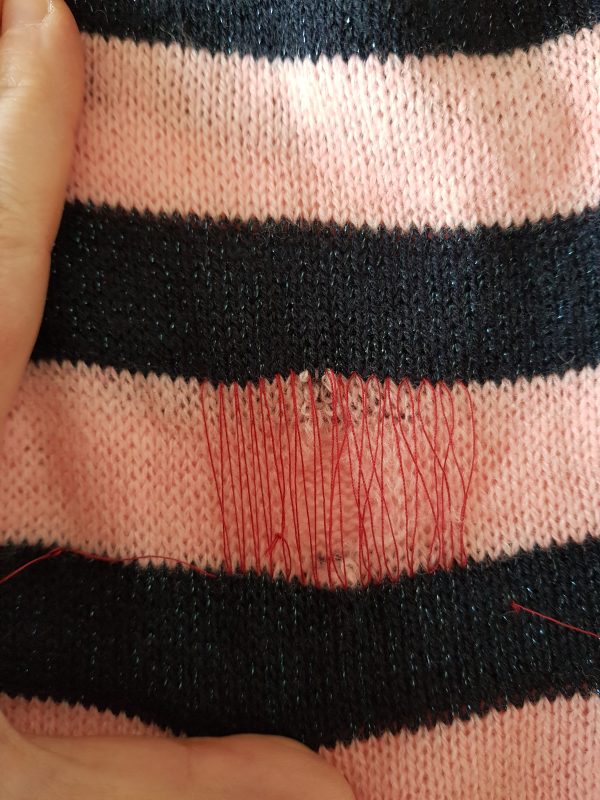
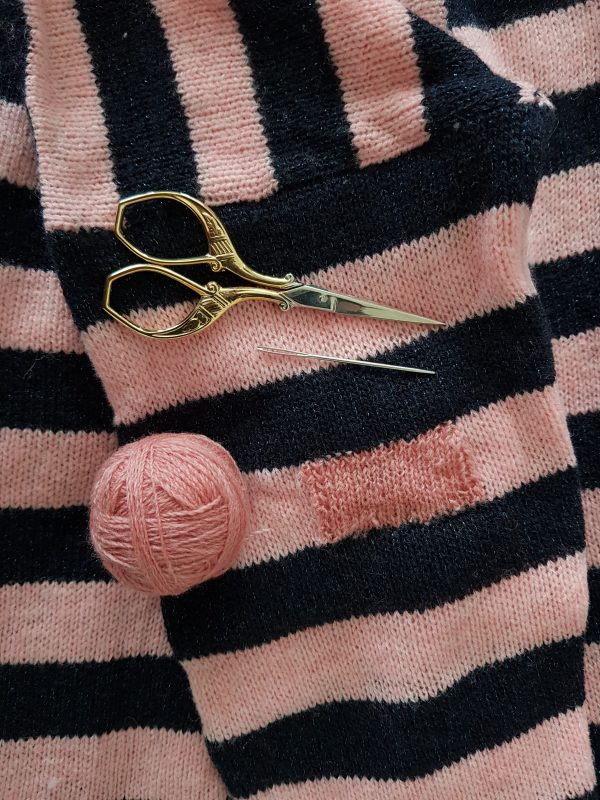
I followed the instructions given and used some sewing thread to make sure that the hole wouldn’t unravel any further.
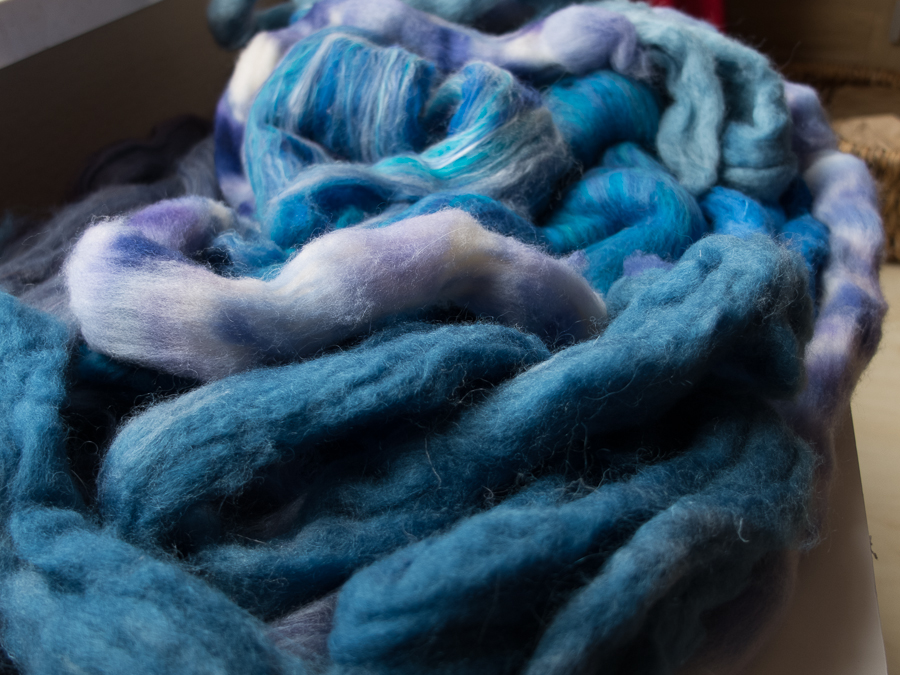
I found the perfect yarn in my handspun stash – the pink was pretty close to the cardigan’s pink. I wasn’t daring enough yet to use a colour that would stand out more. And then I started darning. I spun this yarn way back when I had just learned how to spin on a Turkish spindle, almost 10 years ago. The fibre sample became a 2-ply lace weight yarn. And now I had a perfect project for it.
Unfortunately, it didn’t become as neat as I wanted. My yarn was a little fuzzy, and I found it difficult to estimate how tight I should pull the loops. Some were too large, others were too tight, and it was hard to see where they were sometimes.
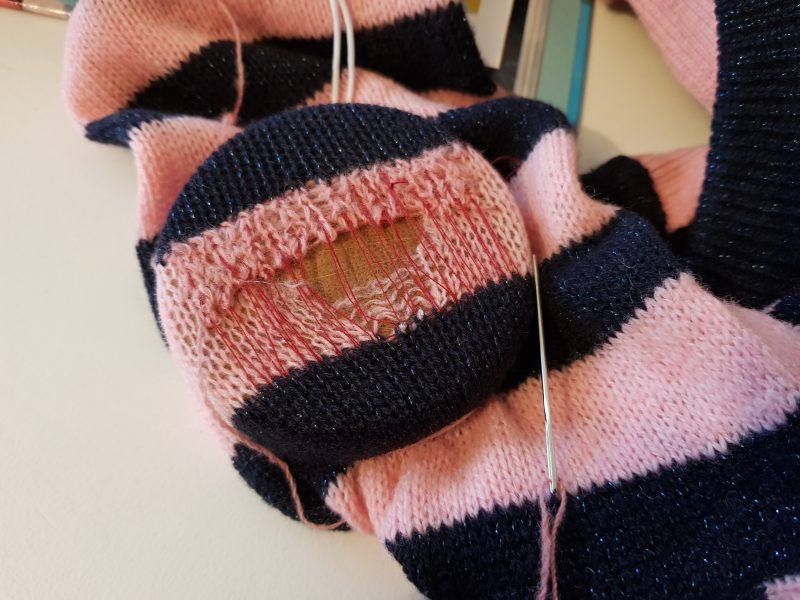
I was almost halfway when I decided that I really didn’t like the result, and unraveled it again. Should I try again, or should I change my approach?
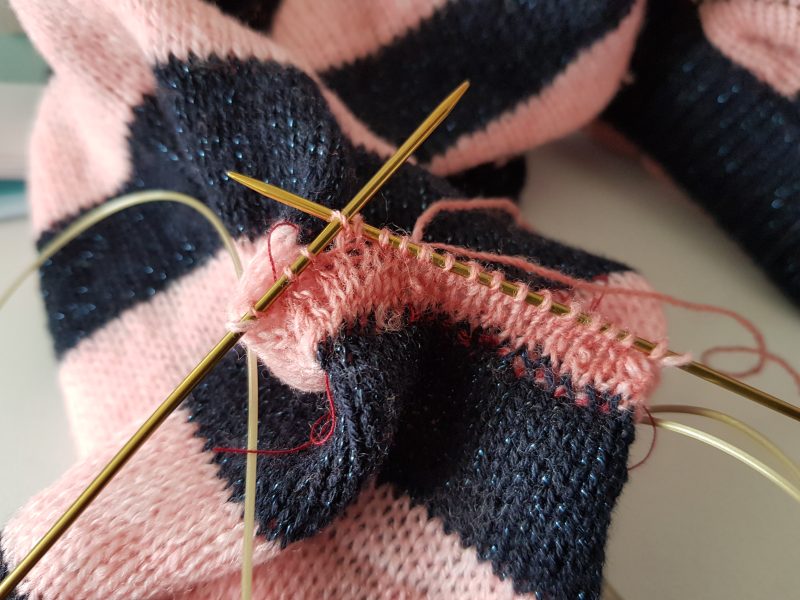
I decided to try something different. The hole was large enough that it needed a substantial patch. So, I decided to get some 1.5mm knitting needles and just knit a patch, starting at the lower edge of the hole. I knitted the side stitches together with existing stitches.
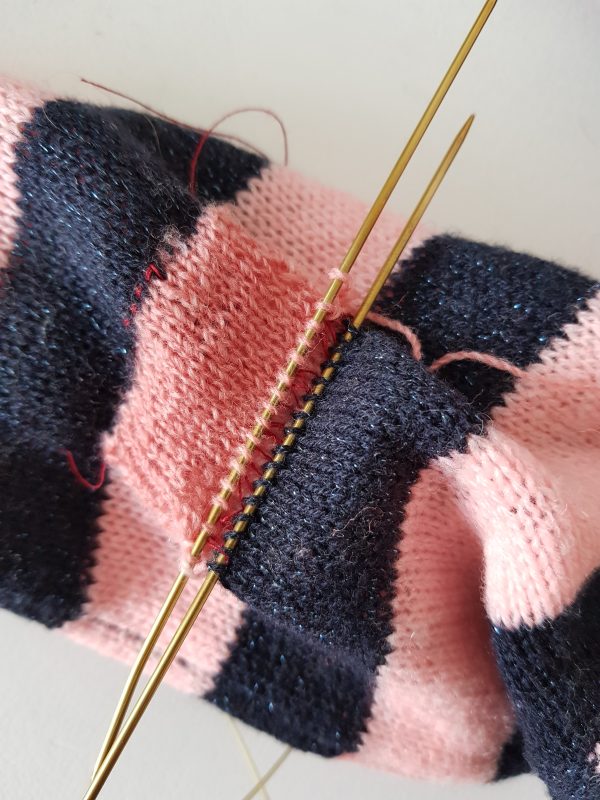
When I arrived at the top of the hole, I grafted the stitches on the needles onto the next row of intact stitches above the hole. This looked much better! The only thing that I didn’t like was that I had managed to move one stitch sideways on one side. But the rest looked pretty neat! Not bad for a first time.
I still have a drawer full of socks with holes that will keep me busy. I’ll probably try Swiss darning again. Hopefully I’ll get the hang of it then.