It has been very cold in The Netherlands in the past week. The “Siberian Bear” came to visit: a cold spell that brought temperatures of -10 degrees Celsius, which is not a very common occurrence here, especially with spring around the corner. Freezing temperatures tend to make Dutch hearts beat faster, because they suggest that ice skating will be possible soon – or even the Elfstedentocht (it has been over 20 years since that event was possible).
But for fibre artists the cold means something else as well: an opportunity to wear as many hand-made woollen pieces of clothing as possible.
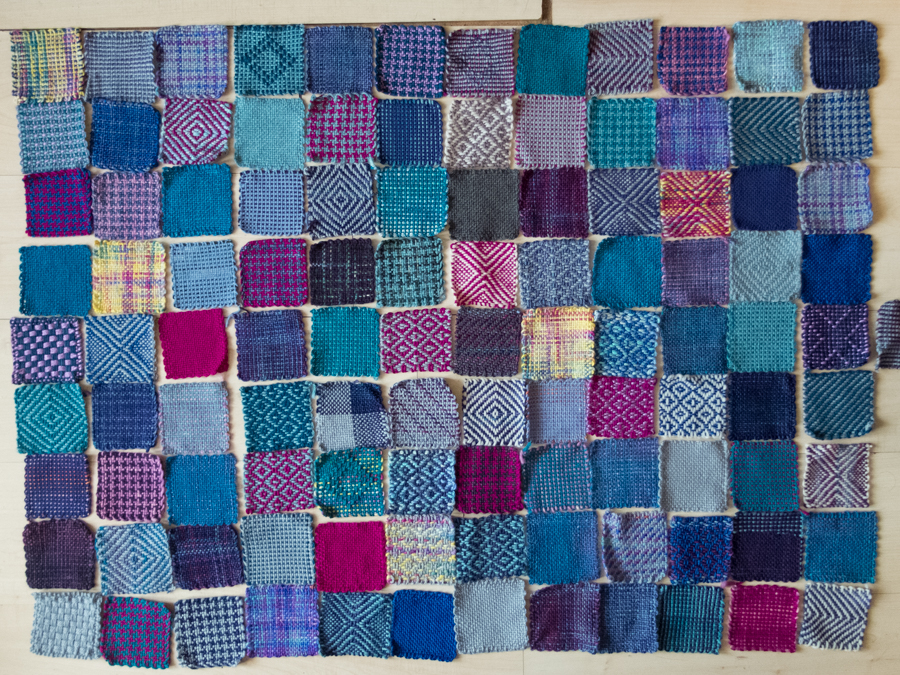
I have quite some shawls, as you may have realized if you have been following this blog for a while, and some hats, but not very many gloves or mittens. Well, fingerless ones, sure, but not the toasty warm kind that you only use once every few years. And the weather agency predicted that the -10 would feel like -25, because of the strong wind, so toasty warm was going to be quite necessary.
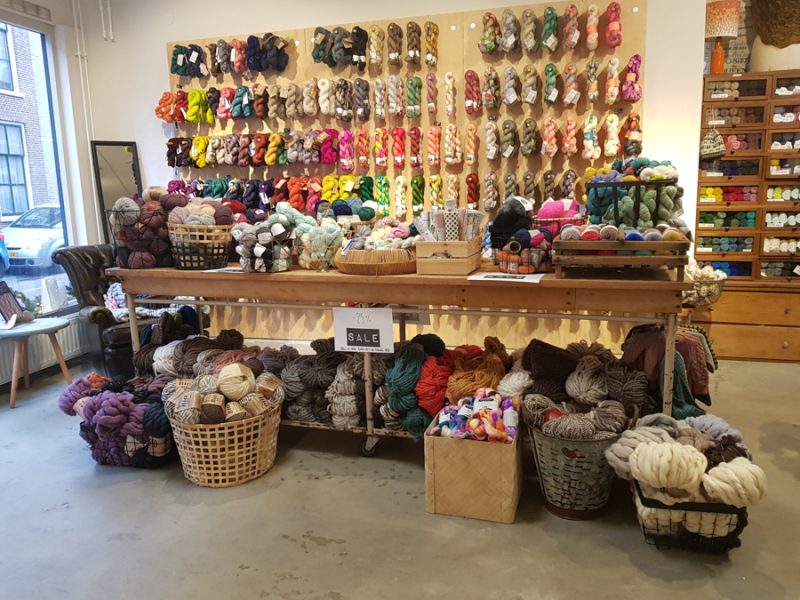
I decided to knit some mittens to survive the cold. Last week I visited my LYS, Cross & Woods, a lovely crafting parlour that sells high-end, sustainable items. They were having a sale!
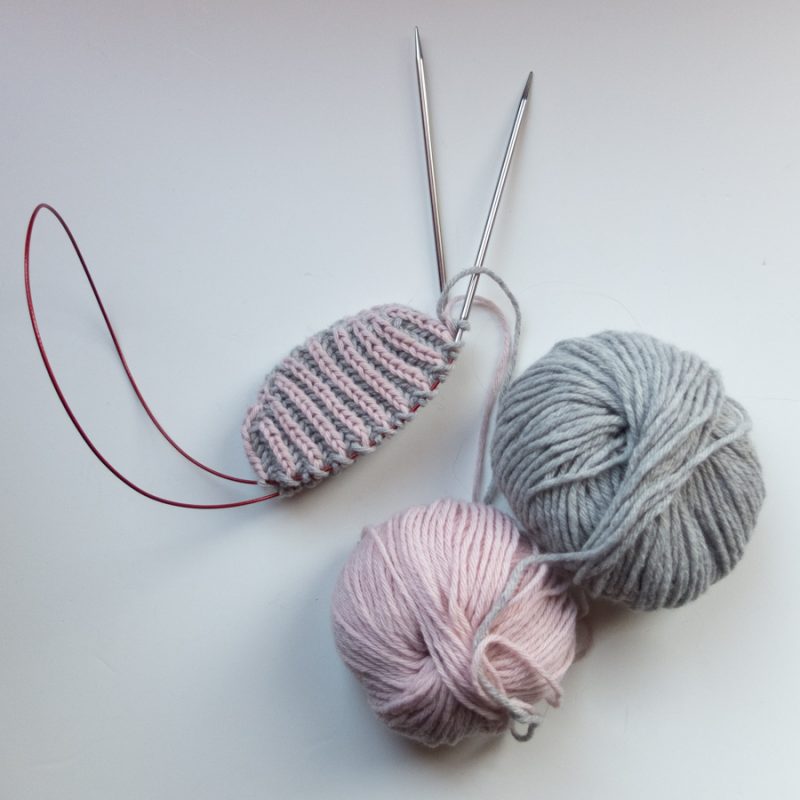
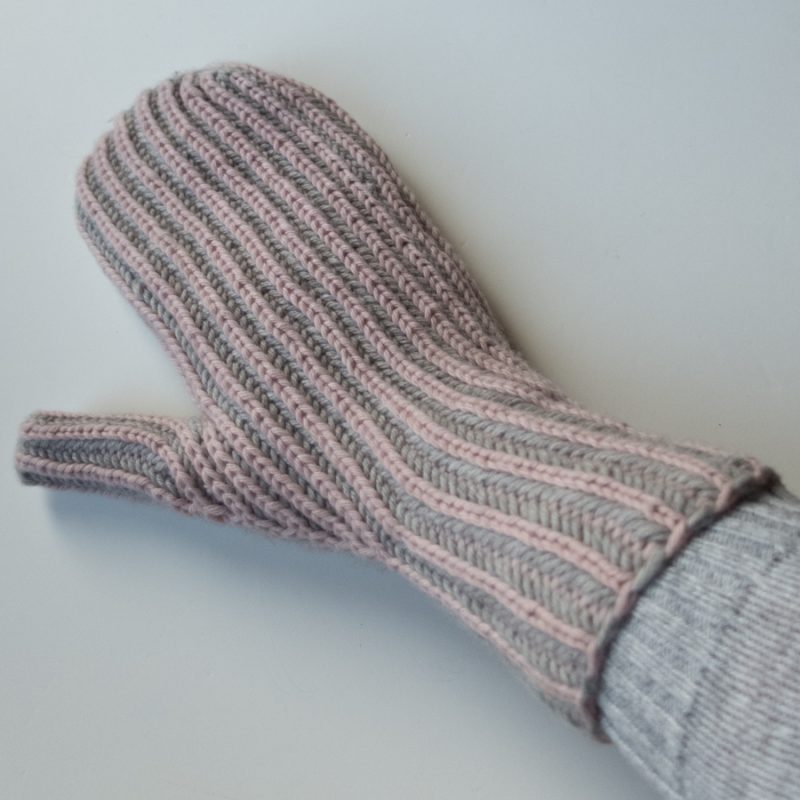
I found some lovely Rico Design Recycled Cashmere DK in pale pastel colours, and thought those would make lovely mittens together. Cashmere is quite warm, and DK weight would not be too thin. I was still pondering whether to knit reversible mittens (with colourwork) or brioche mittens. In the end, I decided on brioche.
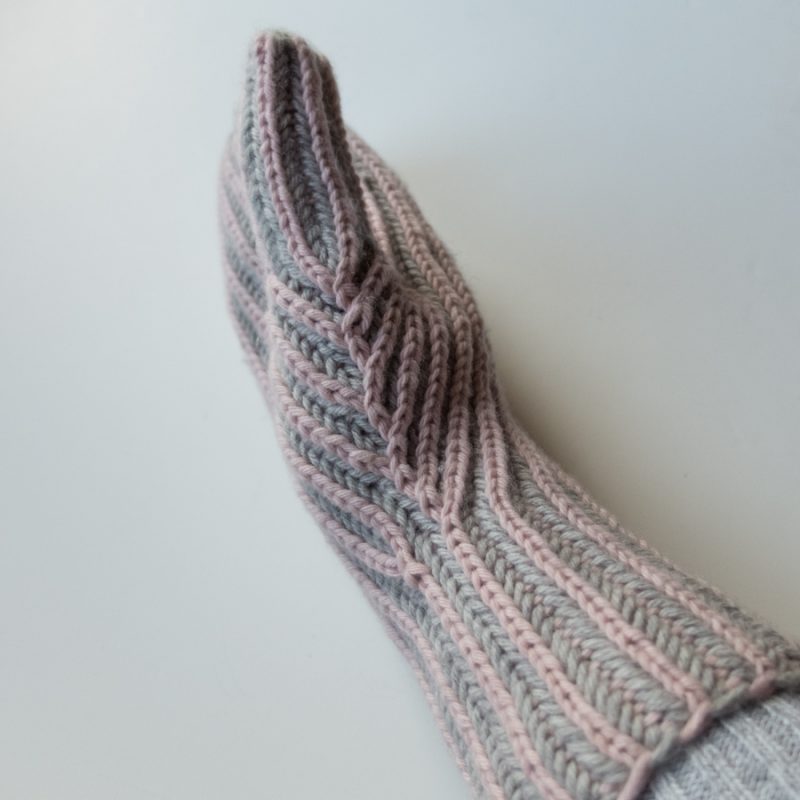
I wanted to make the most of the yarn, and so I wanted to start knitting at the finger tips and work down from there. However, I could not find a pattern for that. Bottom-up, sure, but no top-down brioche mittens to be found. I took up the challenge, and designer my own! Scroll down to the bottom if you’re interested in the pattern.
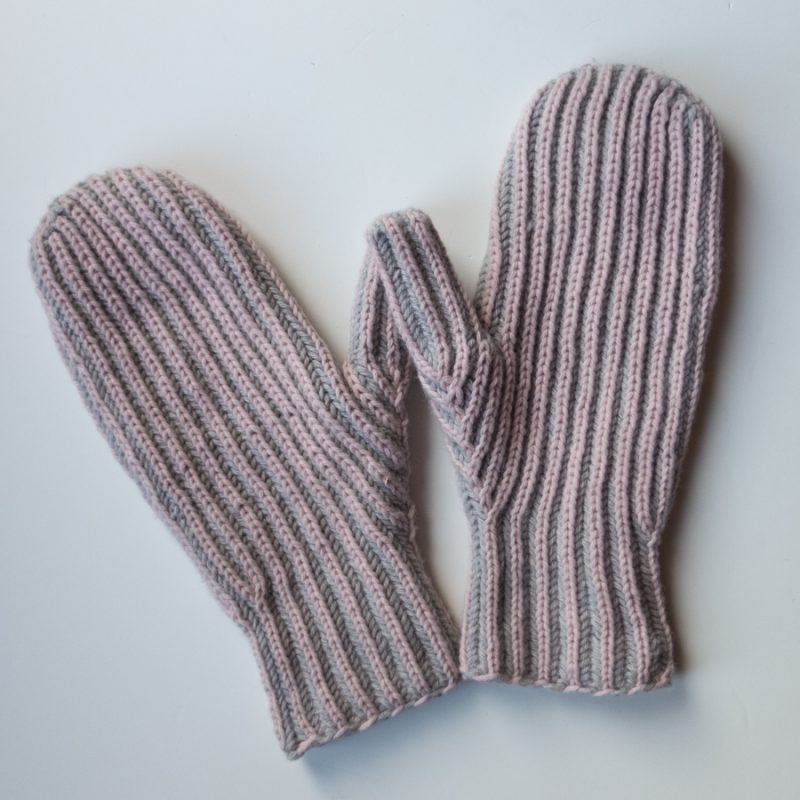
It actually was a rather quick knit: I managed to finish the mittens in about half a week (including frogging and restarting a couple of times). The end result was not perfect, but sufficient. If I would knit these another time, I would make them a bit smaller (both narrower and shorter). I would also play with brioche stitch patterns more.
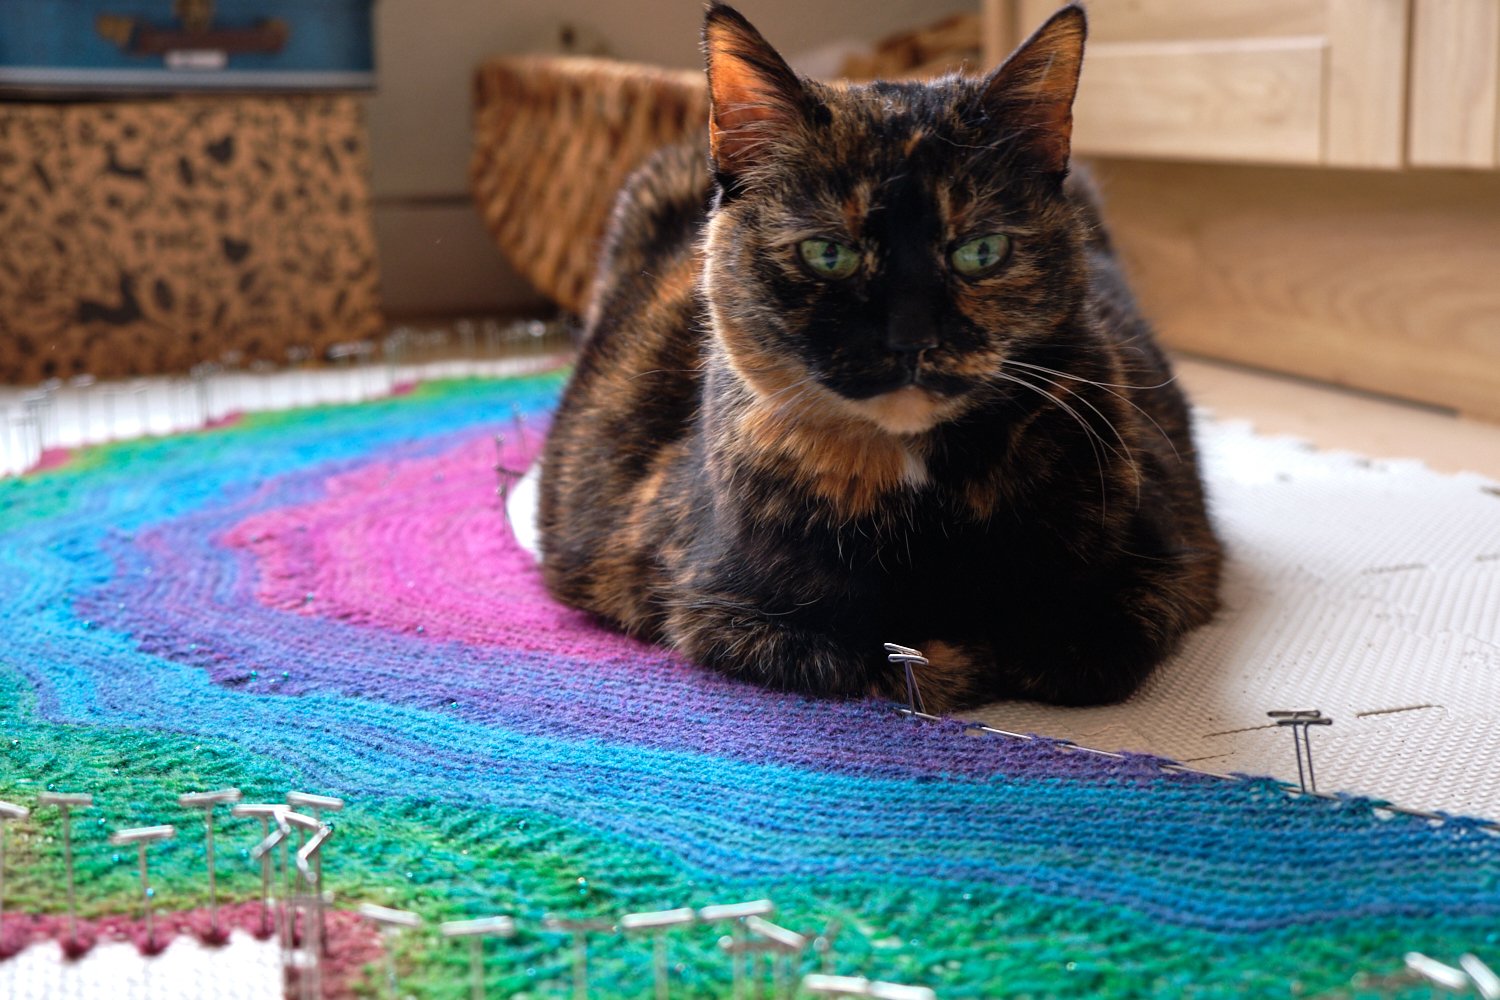
On Thursday I wore them to work, together with some other handknits.

The strong wind did go through the mittens a bit, but that was to be expected. After a bit of cycling though, I was powered up and the mittens were plenty able to keep my hands warm!
I am however really looking forward to spring. It was almost there when the cold hit.
Pattern
Needed:
- 3,5mm needles
- 50 grams of DK weight yarn for the main colour
- 50 grams of DK weight yarn for the contrast colour
I used Rico Design Recycled Cashmere DK (69m/25g).
Casting on
Cast on 16 stitches in a similar fashion to Judy’s Magic Cast On (JMCC):
- Make slip knot in the contrast colour (CC – in my case, pink) and make a slip knot in the main colour (MC – in my case, grey).
- Hold the needles in front of you, points pointing to the left.
- Put the CC slip knot on the needle that is furthest away from you, and put the MC slip knot on the other needle.
- Hold the MC yarn around your thumb and the CC yarn around your index finger and make one stitch in each colour just like in JMCC.
- Turn the yarns clockwise so that the yarns switch places.
- Make one stitch in each colour again.
- Repeat steps 5 and 6 until you have 8 stitches on each needle (including the slip knots).
Increasing
In this pattern, I will use the abbreviations from Nancy Marchant for the brioche-specific stitches. For the sl2yo, slip two stitches (with one yo).
Round 1 (CC): { k1, lift up a strand of CC and twist it, put the twisted stitch on the RH needle, (sl1yo, k1) until last stitch on needle, lift up a strand of CC and twist it, put the twisted stitch on the RH needle, sl1yo } twice
Round 2 (MC): { sl1yo, lift up a strand of MC and twist it, put the twisted stitch on the RH needle, (sl1yo, brp1 ) until last two stitches on needle, lift up a strand of MC and twist it, put the twisted stitch on the RH needle, sl1yo, brp1 } twice
Round 3 (CC): brk1, sl1yo
Round 4 (MC): sl1yo, brp1
Round 5 (CC): { brk1, lift up a strand of CC and twist it, put the twisted stitch on the RH needle, (sl1yo, brk1) until last stitch on needle, lift up a strand of CC and twist it, put the twisted stitch on the RH needle, sl1yo } twice
Round 6 (MC): { sl1yo, lift up a strand of MC and twist it, put the twisted stitch on the RH needle, (sl1yo, brp1 ) until last two stitches on needle, lift up a strand of MC and twist it, put the twisted stitch on the RH needle, sl1yo, brp1 } twice
Round 7 (CC): brk1, sl1yo
Round 8 (MC): sl1yo, brp1
Repeat rounds 5-8 until you have the desired width for your mitten. I increased until 40 stitches (3 times increased), but in a next mitten I might only do 2 increase repeats, because brioche is rather stretchy.
Hand
Now that you have the desired width, repeat rounds 7 and 8 until you reach the point where your thumb is attached to your hand. Do not break the yarn.
Thumb
It is most convenient to knit the thumb from the other end of your yarn balls.
Cast on 12 stitches (6 on each needle) in the same way as the initial mitten cast on. You don’t need to increase if you don’t mind making a dedicated right- and left-hand mitten (like I did). Otherwise, you could cast on 8 stitches and increase once (just like for the mitten body).
Knit rounds 7 and 8 until your thumb length reaches your hand (on the inside of the thumb).
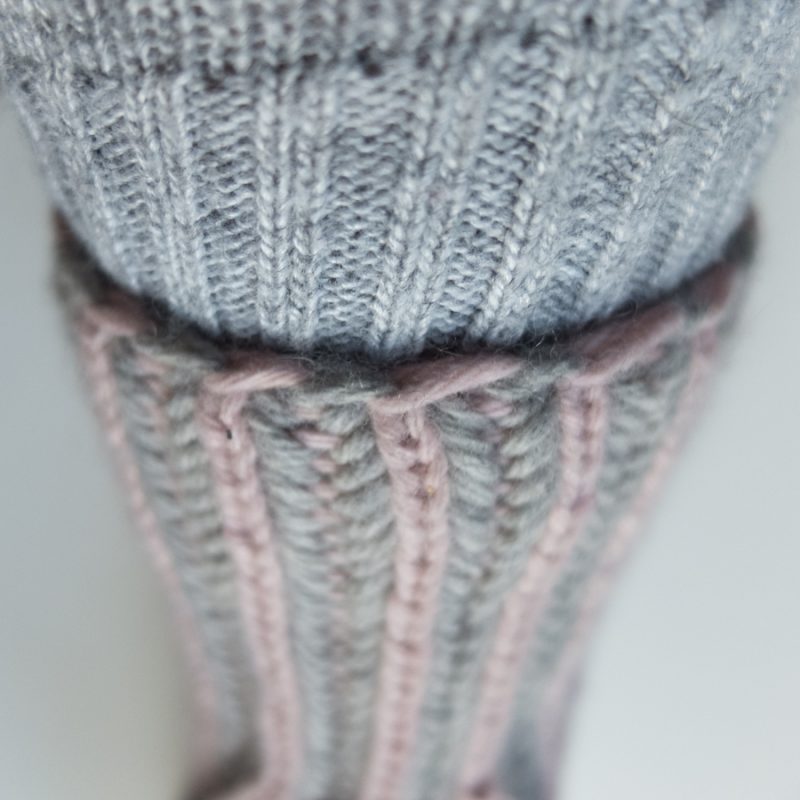
Before joining, move four stitches clockwise for one hand, and counterclockwise for the other. This will make sure that the flat top of the thumb is under the right angle. Cut off the yarn and leave a long tail. There may be a gap after joining the thumb, and you can use the tail to sew it shut.
Joining the the hand and the thumb
To join the hand and the thumb together, you knit round 7 again, as follows:
- Knit first needle of mitten body.
- Knit first needle of thumb with the RH needle of the mitten body as well. Move on to the other mitten body needle.
- Put the stitches of the second needle of the thumb onto the LH needle of the mitten body.
- Knit the thumb stitches and the rest of the stitches of the mitten body
All stitches are now on the needles of the mitten body. Knit round 8.
Thumb gusset
Now decrease at the thumb side of the mitten, forming a gusset.
Round 1 (CC): (brk, sl1yo) until the end of the first needle. Brk1, put 1 stitch on cable needle and move to back. Brk1, put stitch from cable needle back on LH needle, sl2yo. (brk, sl1yo) until end of needle.
Round 2 (MC): (sl1yo, brp) until the end of the first needle. Sl2yo, brp2, (sl1yo, brp) until end of needle.
Round 3 (CC): (brk, sl1yo) until the end of the needle. K2tog (two knit stitches and the yo), sl2yo, (brk, sl1yo) until end of needle.
Round 4 (MC): (sl1yo, brp) until the end of the first needle. Sl1yo, p2tog (two purl stitches and the yo), (sl1yo, brp) until end of needle.
Round 5 (CC): (brk, sl1yo) until 2 stitches remain on needle. Put stitch (including yo) on cable needle and move to front. Sl1yo, put stitch from cable needle back on LH needle, brk. Move the next brk stitch to this needle and brk. On the next needle, sl1yo, (brk, sl1yo) to end.
Round 6 (MC): (sl1yo, brp) until 4 stitches remain on needle. Brp2, sl2yo. Brp, (sl1yo, brp) to end.
Round 7 (CC): (brk, sl1yo) until 4 stitches remain on needle. Sl2yo, move remaining two stitches to next needle. K2tog (two knit stitches and the yo), sl1yo. (brk, sl1yo) to end.
Round 8 (MC): (sl1yo, brp) until 2 stitches remain on needle. P2tog (two purl stitches and the yo), (sl1yo, brp) until end of needle.
These two sets of decreases are repeated four times (in total, you will have decreased 16 stitches).
Decreasing
Depending on your wrist size, you may want to increase more. I had to, and I decreased 8 more stitches, as follows:
Round 1: { Brk, put 1 stitch on cable needle and move to back, brk, put stitch from cable needle back on LH needle, sl2yo. (brk, sl1yo) until 4 stitches remain on needle, brk, put 1 stitch on cable needle and move to back, brk, put stitch from cable needle back on LH needle, sl2yo } twice.
Round 2: { Sl2yo, brp2, (sl1yo, brp) until 4 stitches remain on needle, sl2yo, brp2 } twice.
Round 3: { K2tog (two knit stitches and the yo), sl2yo, (brk, sl1yo) until 4 stitches remain on needle, k2tog (two knit stitches and the yo), sl2yo } twice.
Round 4: { Sl1yo, p2tog (two purl stitches and the yo), (sl1yo, brp) until 4 stitches remain on needle, sl1yo, p2tog (two purl stitches and the yo) } twice.
You have now decreased 8 stitches. If necessary, you can repeat this set of decreases.
Wrist
Keep knitting in pattern until you reach the desired length:
Round 1 (CC): brk1, sl1yo
Round 2 (MC): sl1yo, brp1
Bind off
I used the Simple Two Colour Brioche Bind Off. It is not a very stretch bind off, so I recommend using a larger needle to execute it (or at least making sure that it is very loose).
You may prefer using the Italian two colour bind off, which is a sewn bind off, instead.