The exploration of rigid heddle weaving continues! After my experiments with double heddle weaving I learned that with each added heddle you add, you basically add another harness to your loom. My previous project used two heddles for three shaft weaving, so adding another heddle would potentially open up the whole library of four shaft weaving patterns to the rigid heddle loom!
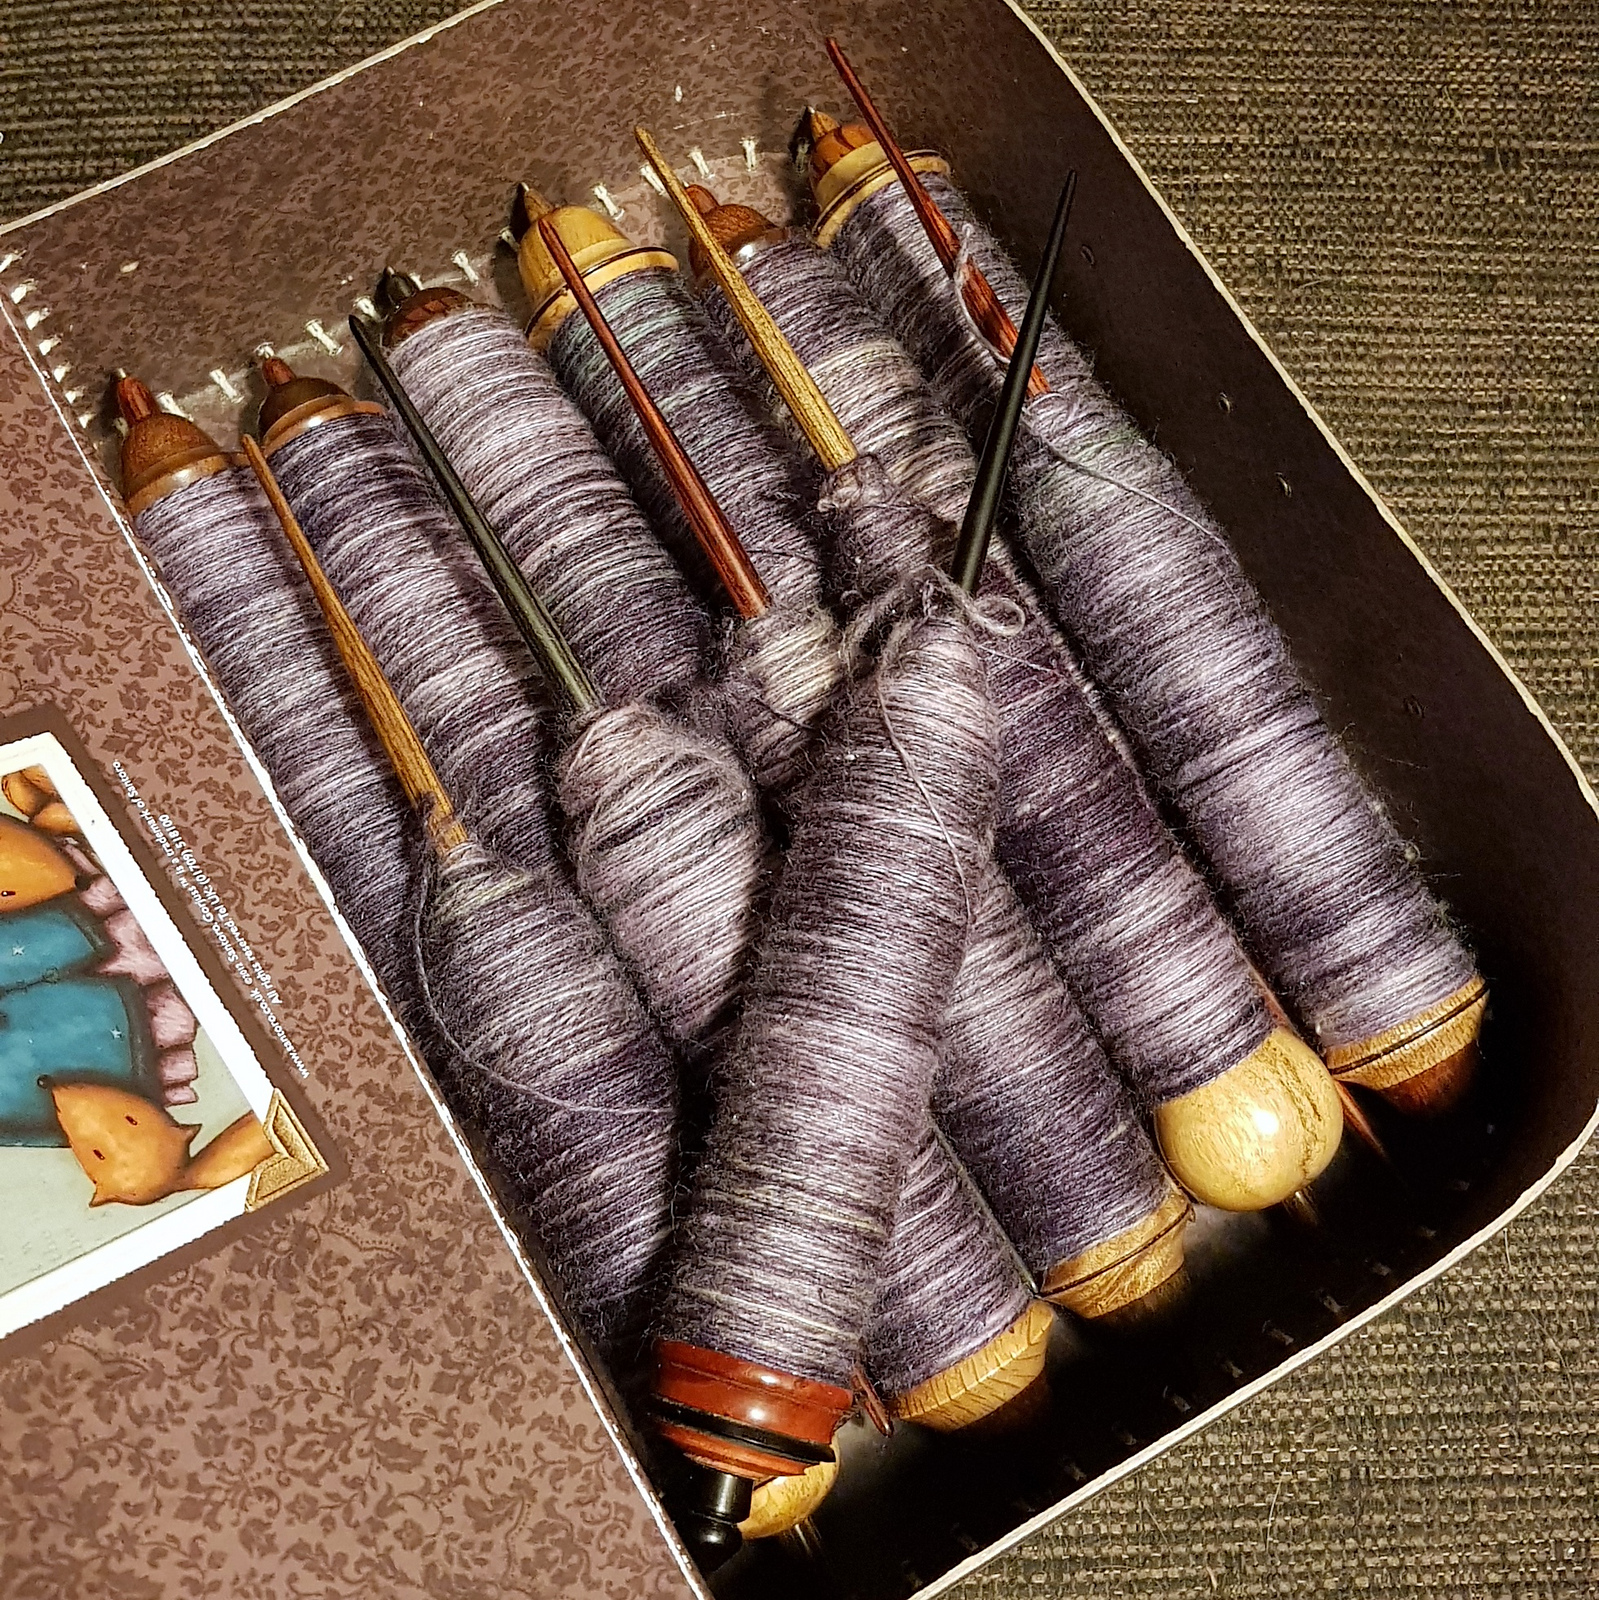
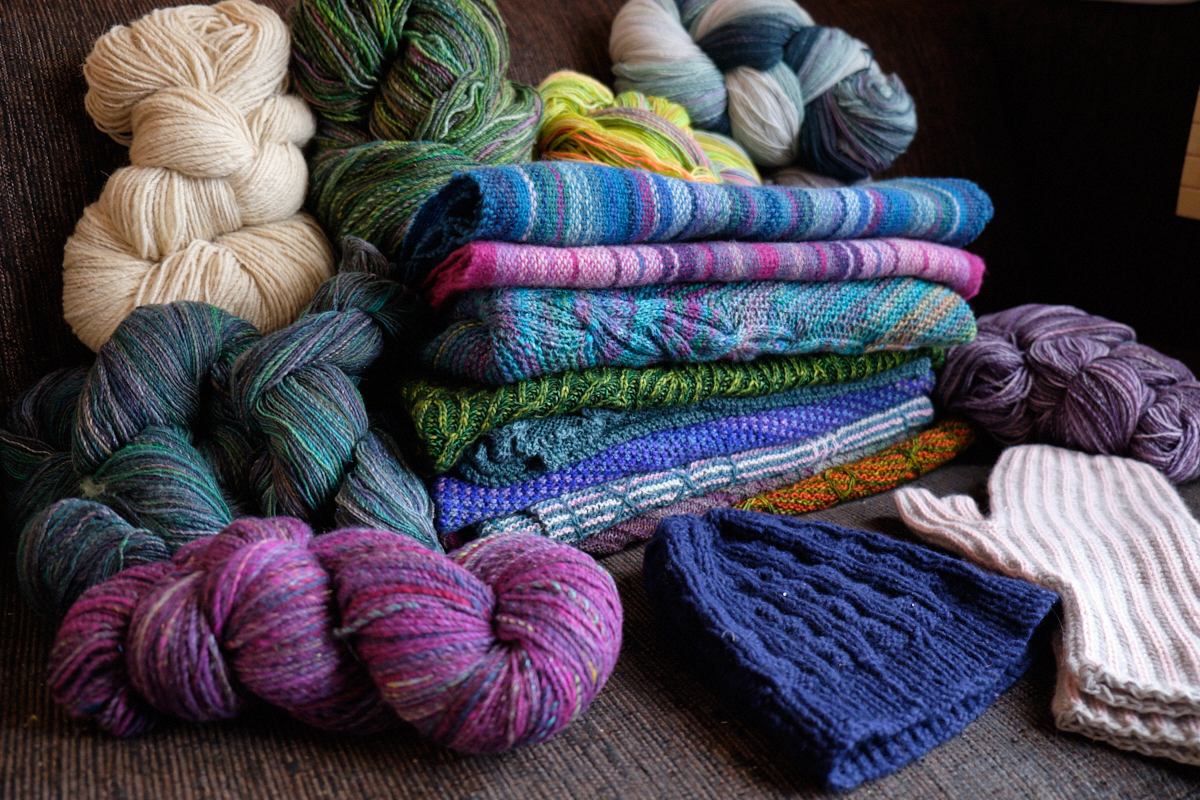
I read the excellent explanation by Rev. David B. McKinney about the basics of three heddle weaving and decided to put it into practice. I have two 60/10 heddles, and with my Vari Dent I can easily make a third. This meant that I would need to weave with lace weight yarn. I still had some pretty purples in my stash that looked as if they would combine well.
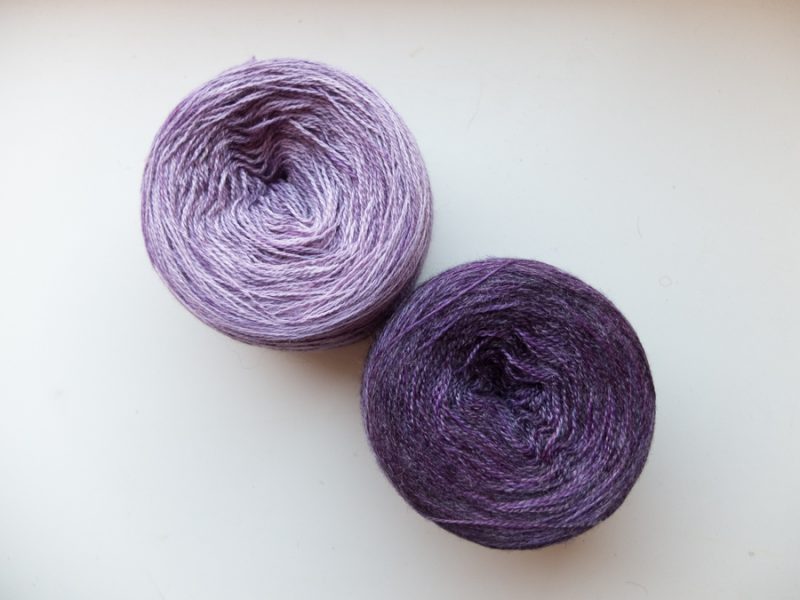
The lighter one is easyknits.co.uk’s Deeply Wicked Metallurgy yarn (800 m/100 g of BFL/silk), and the one on the right is Lindewol Hand dyed (800 m/100 g of British Falkland/merino/tencel). Both are quite shiney. I decided to use the dark one as the warp and the light one as the weft.
The 60/10 heddles are 15 epi (so 148 threads total per heddle on my Ashford SampleIt). As I’m only trying to weave twill by using more than one heddle to aid me, I didn’t have to change the epi to facilitate more heddles. I played around a bit with the possibilities and came up with the following pattern:
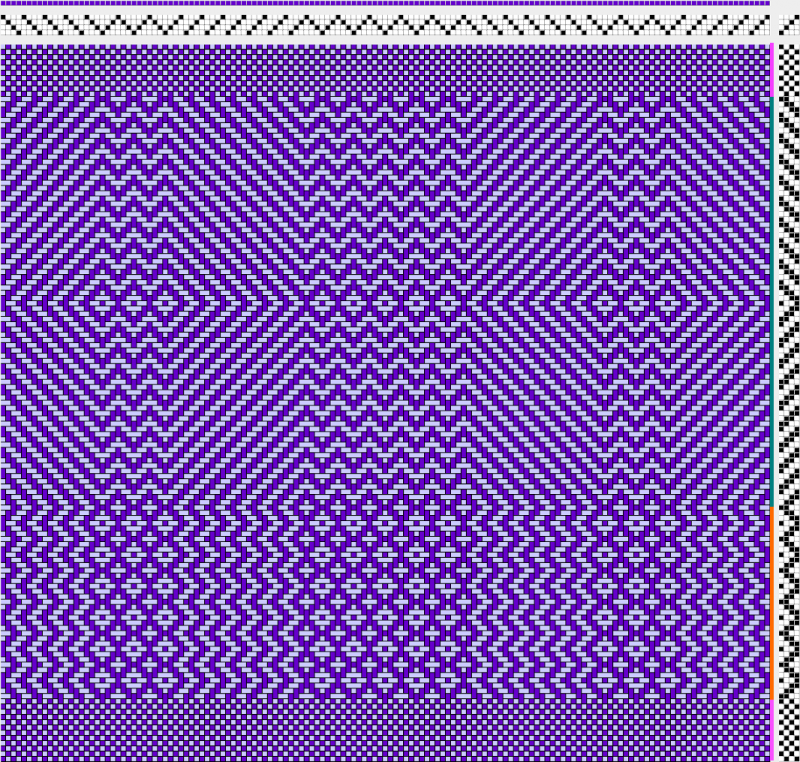
I would start and end with 12 rows of plain weave (marked by the pink line on the right). In between I would alternate A (green) and B (orange). Very straighforward, and as you can see, the pattern has a nice combination of textures.
The next step was threading the loom. I started doing it from the top of my head, but I quickly reverted to drawing it all out to prevent mistakes.
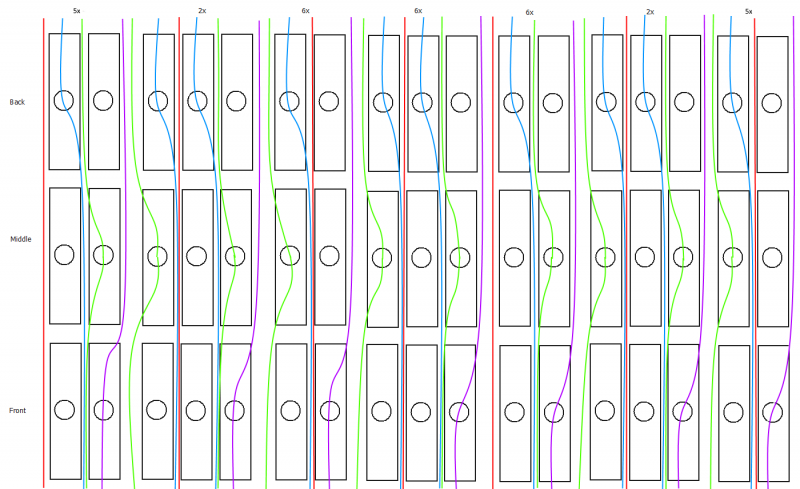
I gave the corresponding threads the same colour (for example, the red thread is always shaft 4, going through the slots only).
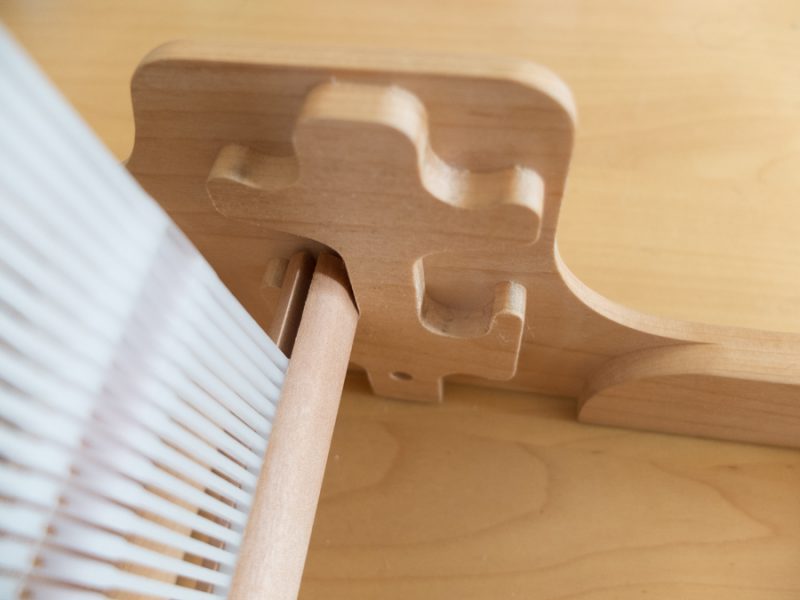
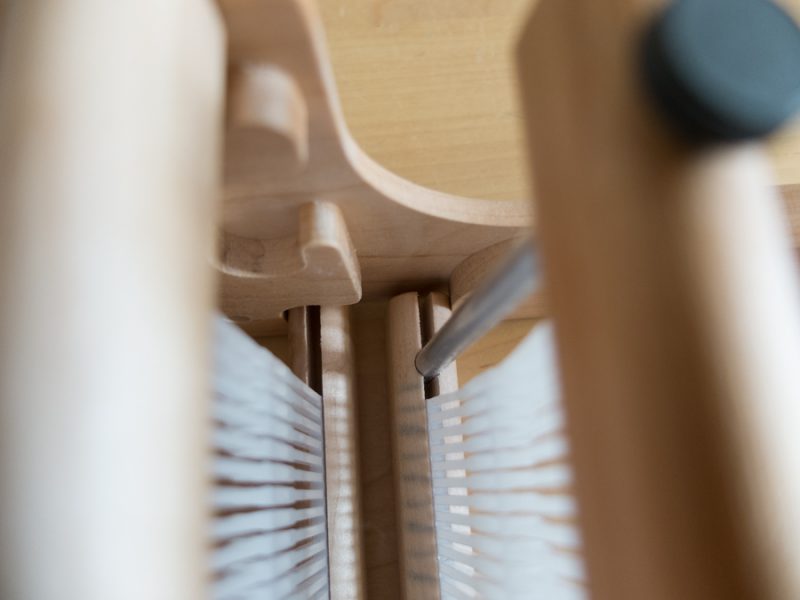
I warped the loom with direct warping. I put the third heddle onto something to keep it on the same height as the other two heddles. During threading I still needed that because otherwise the third heddle would hang on the warp and pull the threads out again. It took me a bit of time, but in the end, I managed to thread everything correctly. Onto weaving!

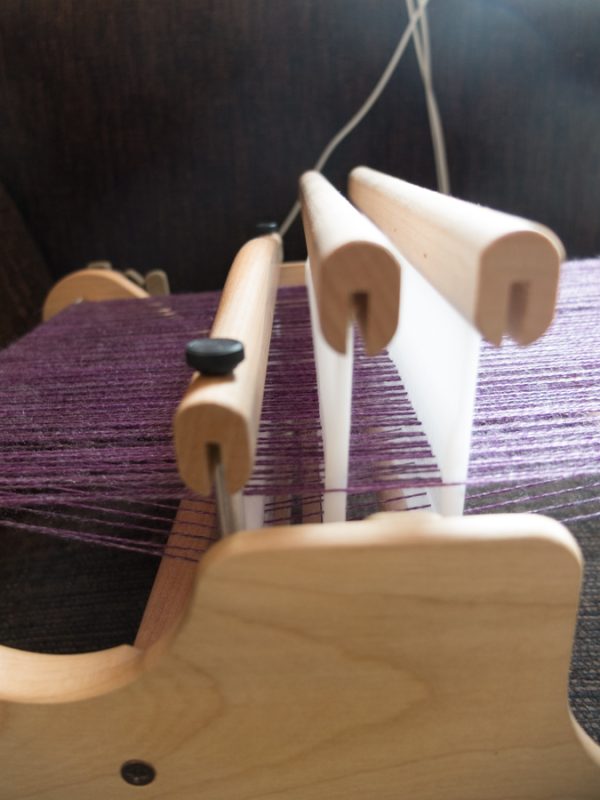
To weave with three heddles, you need to have patience. You cannot use your feet to control multiple harnesses at once, or even your hands to just flip some handles. You need to pick up or push down each heddle by hand, and while you’re doing that, you also need to take into account that the second and third heddle (in my case) don’t have a lot of room to move them past each other, so you have to do everything in a particular order for optimum speed.
All that aside, you can weave twill this way! My pattern showcases some 2/2 twill possibilities, and it is relatively simple to weave it. I’ll explain:
Tabby
The beginning and end are done in tabby. Tabby is another term for plain weave, the weaving where you pass over 1 thread, then under the next, etc. On a four harness loom you do tabby as follows:
- 1 and 3 up
- 2 and 4 up
On a rigid heddle loom you do:
- 1 and 3 up
- 1 and 3 down
Easy! But now that you have three heddles, you can do twill as well. Twill is weaving where you pass over or under more than one thread at a time. This creates a fabric that has better drape than tabby.
Pattern 1 (green)
If you would weave this on a proper four harness loom, you would follow this sequence for pattern 1 (first half of the green in the picture above):
- 1 and 2 up
- 2 and 3 up
- 3 and 4 up
- 4 and 1 up
The equivalent on a rigid heddle loom is as follows:
- 1 and 2 up
- 2 and 3 up
- 1 and 2 down
- 2 and 3 down
You cannot lift the threads 4 as they do not pass through any slots, so to simulate that they go up you just push the other heddles down.
The second half of the green pattern is the reverse of the sequence above.
Pattern 2 (orange)
The second pattern (orange) would be done as follows on a four harness loom:
- 1 and 2 up
- 2 and 3 up
- 3 and 4 up
- 4 and 1 up
- 3 and 4 up
- 2 and 3 up
- 1 and 2 up
The equivalent on a rigid heddle loom is as follows:
- 1 and 2 up
- 2 and 3 up
- 1 and 2 down
- 2 and 3 down
- 1 and 2 down
- 2 and 3 up
- 1 and 2 up
Result
After a bit of weaving I really got into the rhythm. It goes slowly, but steadily, and watching the pattern develop keeps it interesting.
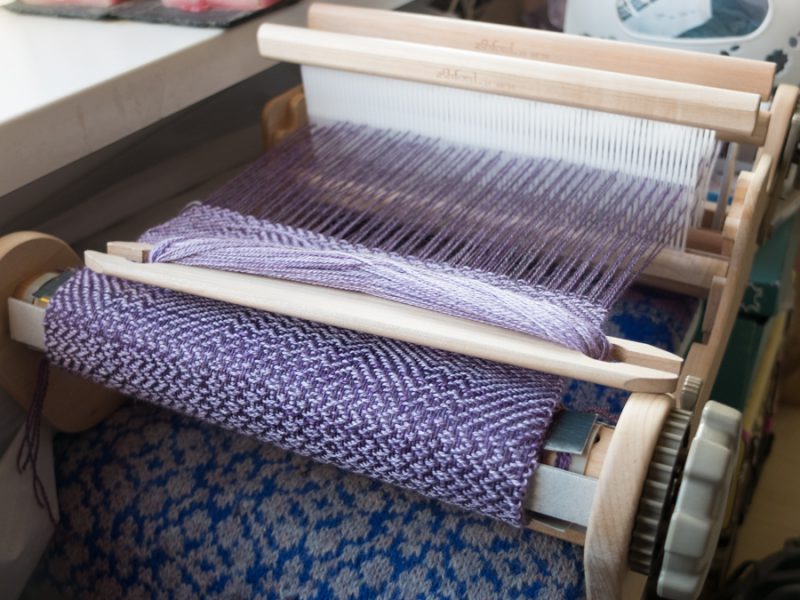
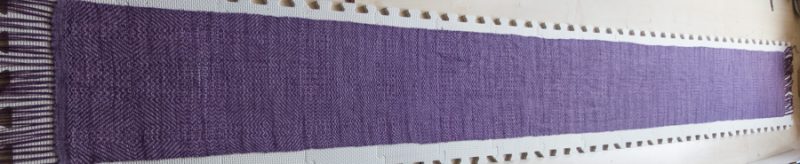
I finished this project yesterday and gave the scarf a bath. It is 2.18 m long and 22 cm wide. It is a bit weft-heavy because I tend to beat it more when weaving twill. You need to be at a certain angle to see the pattern well. If you are too close or too far away it gets a bit lost. The colours work well together.
Of course there is still one step to go:
I’m quite amazed how much you can do with the humble little Ashford SampleIt loom. Having a small loom makes it easy to just warp it and try something new without having to spend a lot of time. I may need a harness loom at some point… but first I still have some exploring to do! Next up may be card weaving…
Just Wow!!! Amazing!
This is amazing! Is there any chance in the world you would do a video ???
Lovely, explained very well.
AWWWWWWWWW beautiful lady cat!
And what you did on your loom is brilliant.
Thank you! 🙂
Fascinating! We’re pushing the limits of 2 heddles at present… this next year sometime!! One question though regarding your threading plan… you say that…” for example, the red thread is always shaft 4, going through the holes only”, but I wonder if you mean that it goes through the slots only (which is how it appears from the diagram)? Anyway, beautiful weaving – thank you! Jan
Thanks for catching that, I did mean the slots indeed! I’ll correct the post to avoid further confusion 🙂
Stunning! Do you have anything similar for a diamond twill? I have been searching for something like this for so long! Your tutorial is perfect for this newbie weaver. Thank you!!
Not yet, but maybe in the future 🙂
Do you have an example of how diamond twill for a maximum of 4 shafts is set up?
No I do not. I have seen other’s finished projects, but I have not been able to find anything about the set up ?
Hi! Is this possible to do with two heddles and a pick up stick?
Thanks!
I haven’t tried it, but I think that it doesn’t work. I think that with the pick up stick, you can only emulate moving a heddle going up.
The pick up stick creates a shed, where the picked up threads (the threads that would go through the heddle’s holes) are moved up and the other threads (the slots) stay in neutral/down position. You cannot move the picked up threads down and the rest of the threads up with the same pick up stick set up, if you know what I mean.
You would need to be able to create the reverse shed as well for this pattern, to emulate the heddle being moved down. But I could be wrong, because I haven’t worked with pick up sticks a lot.