Last week I was on holiday, and halfway through, I decided to (finally) bite the bullet and get a new iPad. I still had the iPad 3 (since 2012) and OS updates are no longer supported, so fewer and fewer apps are actually available and/or working. The battery life is also really bad. So it was time for something new.
Through the years, I have been using my phone a lot to draw on. I have a Samsung Galaxy Note 8 (with a stylus) and it’s nice for drawing, except for the rounded edges.


I have also been drawing on my old iPad, but it was getting too slow, and it’s frustrating to draw with lag. I had been drooling over the iPad Pro plus pencil since they came out in 2017, but they are quite expensive and I could not really justify buying them.
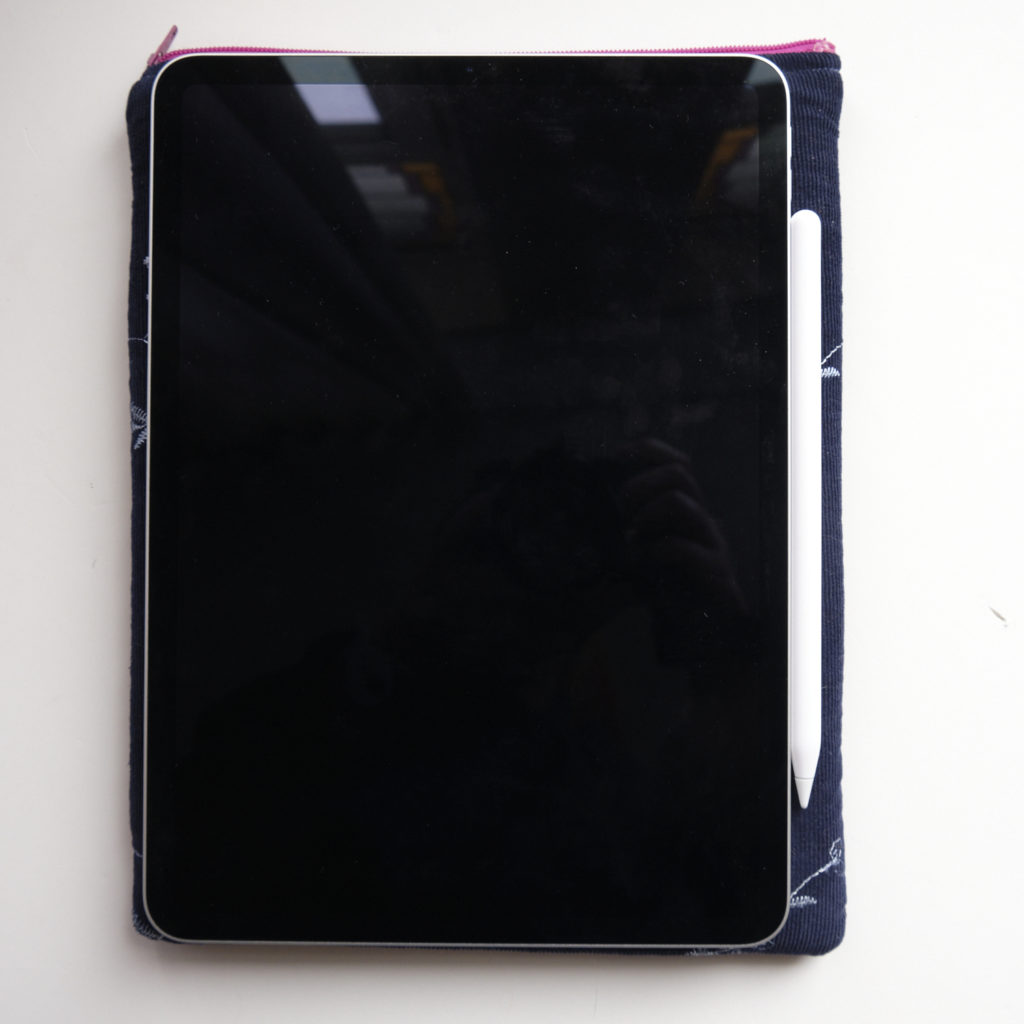
But the itch was still there, and I had been saving up some money, so in the end I decided to go ahead and get one. I chose the 11 inch iPad Pro 2020 model because it was more affordable, lighter, and more portable than the 12.9 inch version. Yes, the bigger one would be nice for drawing and for reading sheet music, but when I looked at the 11 inch one I decided that that one was large enough for me.
I’ve been drawing on it on and off during the last days of my holiday, and I was looking around for a nice case or sleeve when I suddenly realised that I could actually make one myself! After making my Brooklyn handbag, I understand how putting in a zipper works, and that seemed to be the hardest part of creating a sleeve. Apart from that, I would just have to create a rectangle that fitted the iPad. How hard could it be?
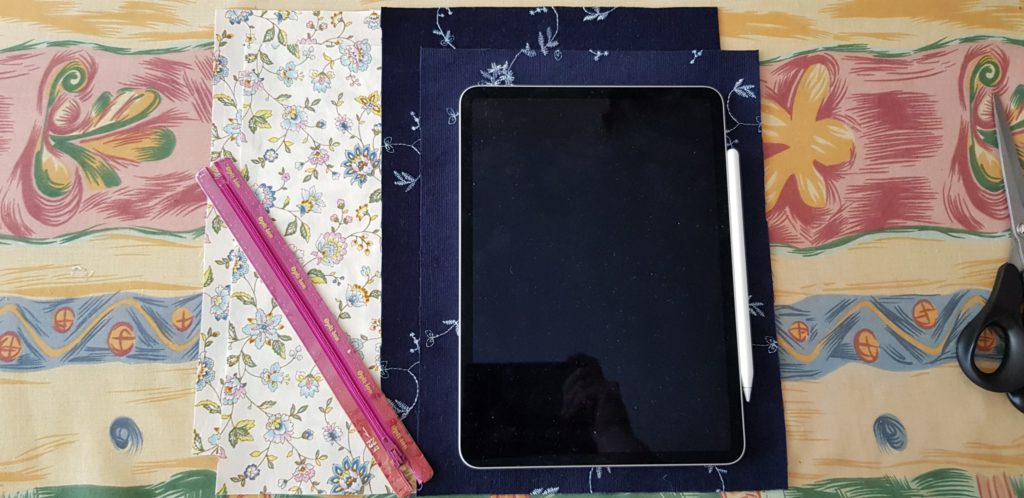
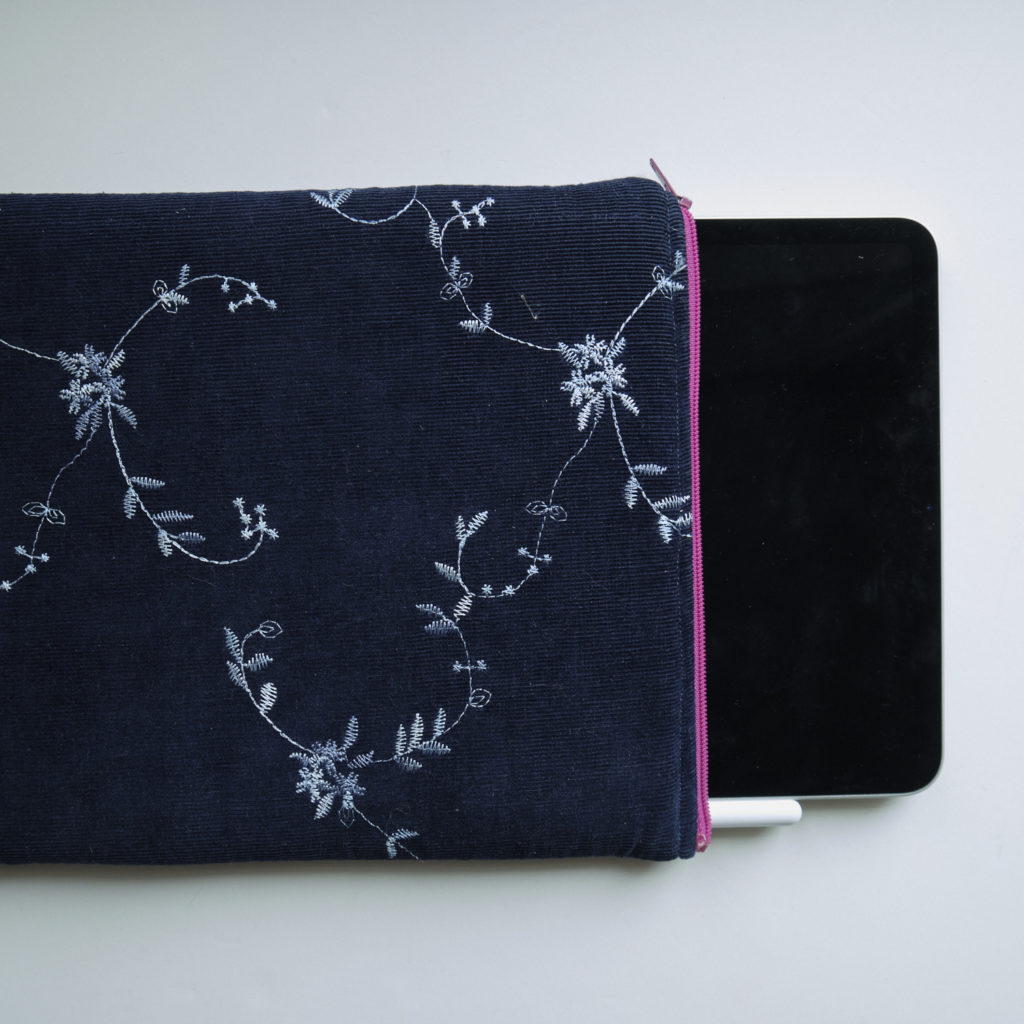
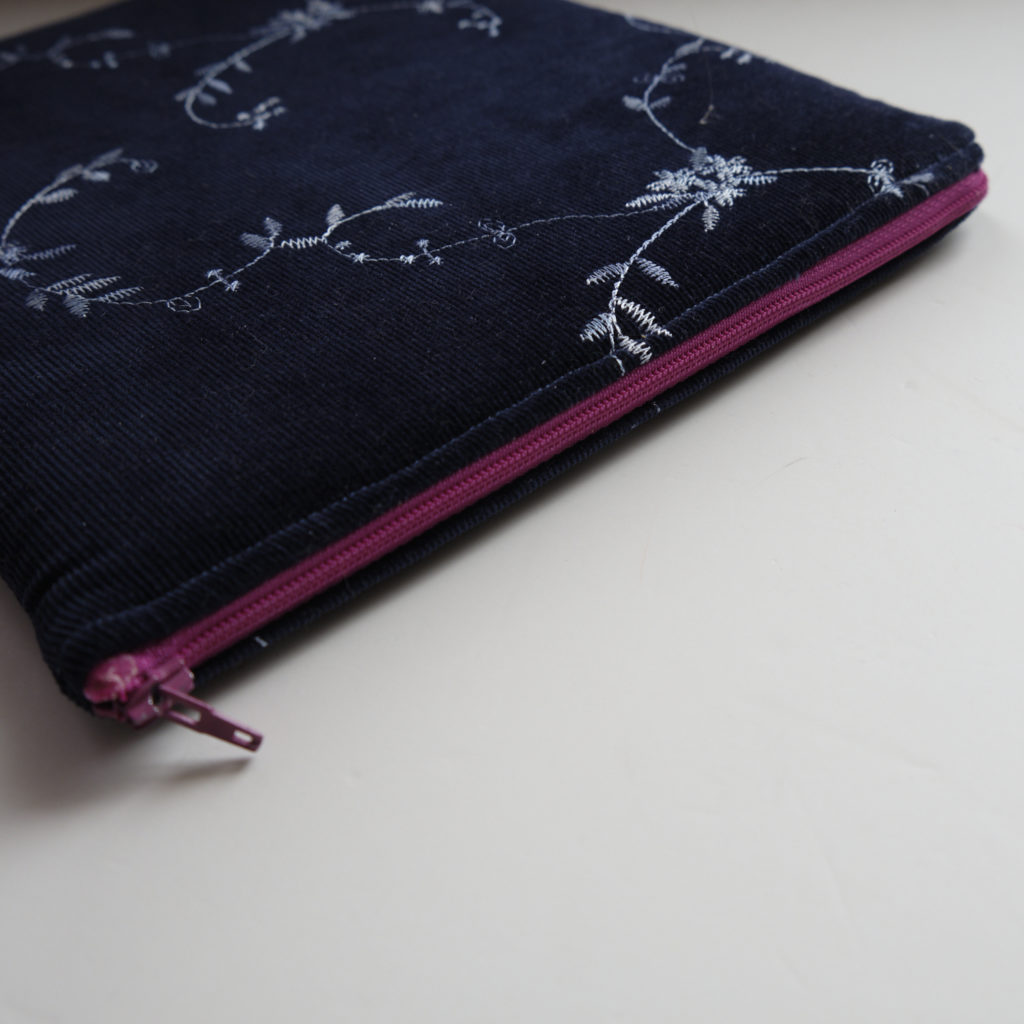
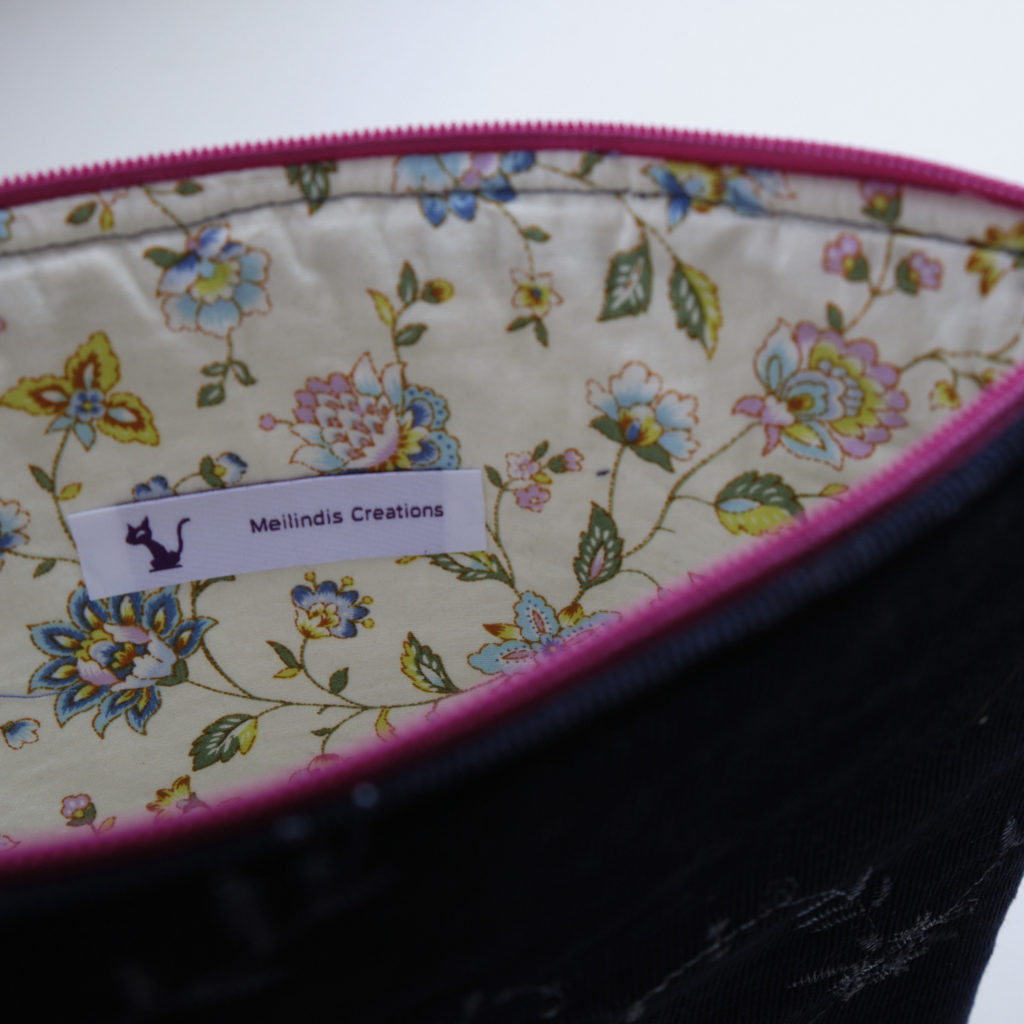
I decided to make the sleeve 1.5 cm larger than the iPad both horizontally and vertically to account for its thickness. I looked for some fabric and decided on using some thick dark blue ribbed fabric for the outside and flowery cotton for the inside. I only had one zipper that was (barely) long enough, and it was pink, which made for a nice accent. And I added foam in between the outside and lining fabric. All pieces had the same dimensions.
The first thing I did was putting some interfacing on all fabric pieces to strengthen them. Then I zigzagged around the foam pieces to flatten the edges. Time to start working with the zipper!
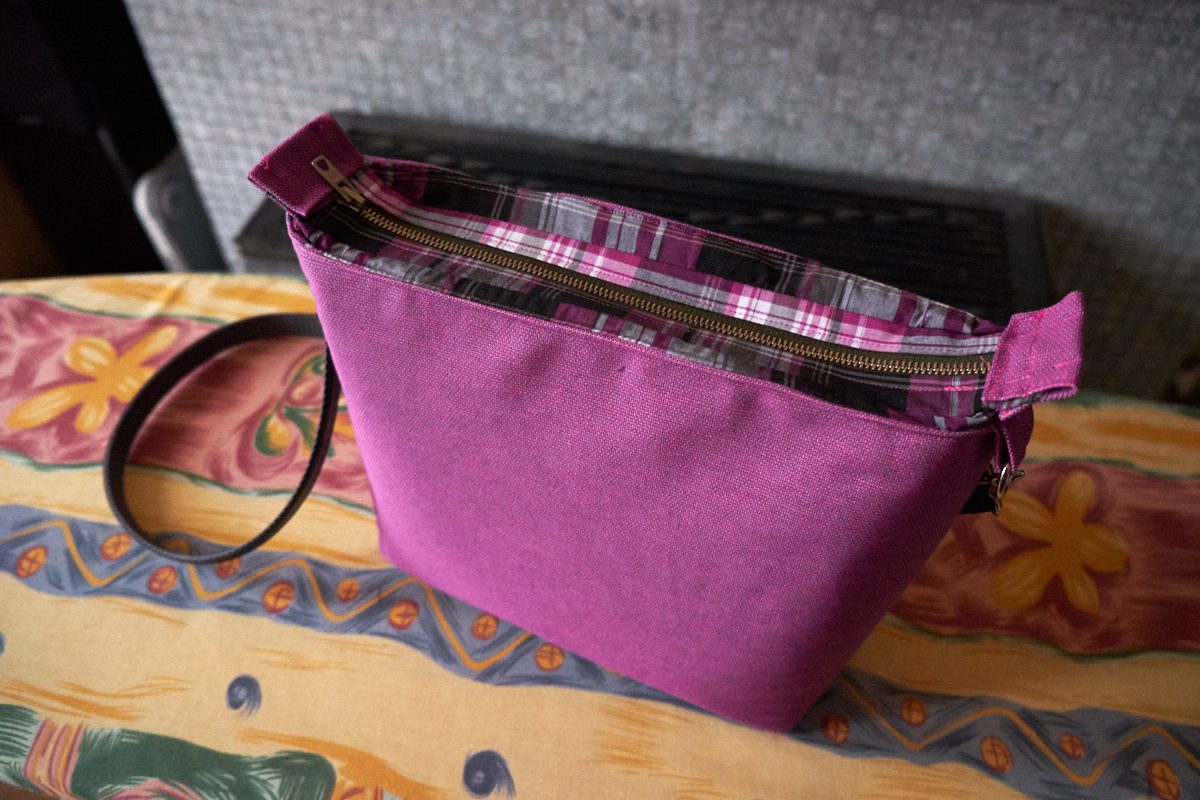
I attached the zipper to the fabric pieces. You need proper focus for this, because before you know it, you have attached something the wrong way around. I started by sewing one part of outside fabric + foam to the zipper, then added the lining fabric on the other side. Repeated that for the other pieces, and voilà, the zipper was attached to every piece.
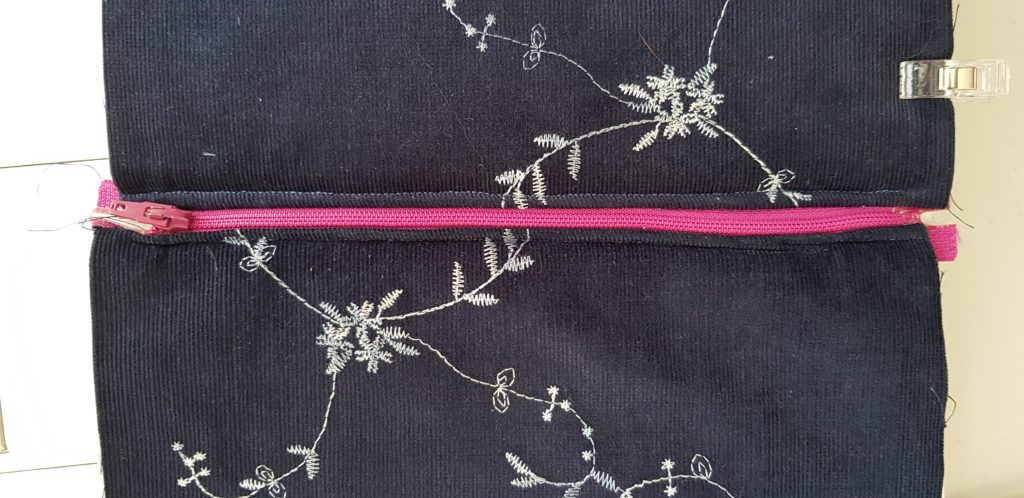
I was not entirely successful here: the two sides are not entirely aligned as you can see in the photo above. But I had enough room that the iPad would still fit.
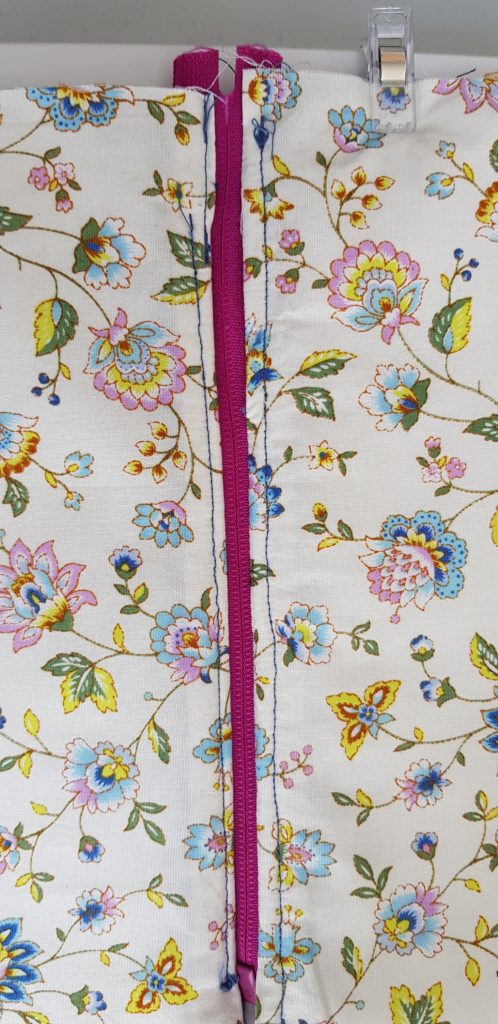
When doing the top stitching, I managed to drift off a bit while sewing, and you can see it on the lining fabric. But I left it like that because I did not feel like doing it again.
I opened the zipper first to make sure that I could still turn the bag later. The next step was sewing the outside fabric pieces together and the lining fabrics as well, creating two bags connected by the zipper (inside out). I did not sew the lining shut yet, because I still had to turn everything outside out later. I left about ten centimetres of the bottom open for that.
Then I turned the bag and tried to fit the iPad inside. Oh no! The sleeve was too narrow! So I undid the sewing and redid it with a smaller seam allowance. That worked. But now I found out that the iPad also didn’t fit completely lengthwise. It was a matter of a few millimetres, but those were crucial to be able to close the zipper. So I undid the bottom and sewed it back shut real close to the edge. I had been so smart to cut off the excess fabric already… But there was enough room left fortunately. The iPad now fitted in the sleeve, very snugly, together with the pencil, and I could close the zipper.
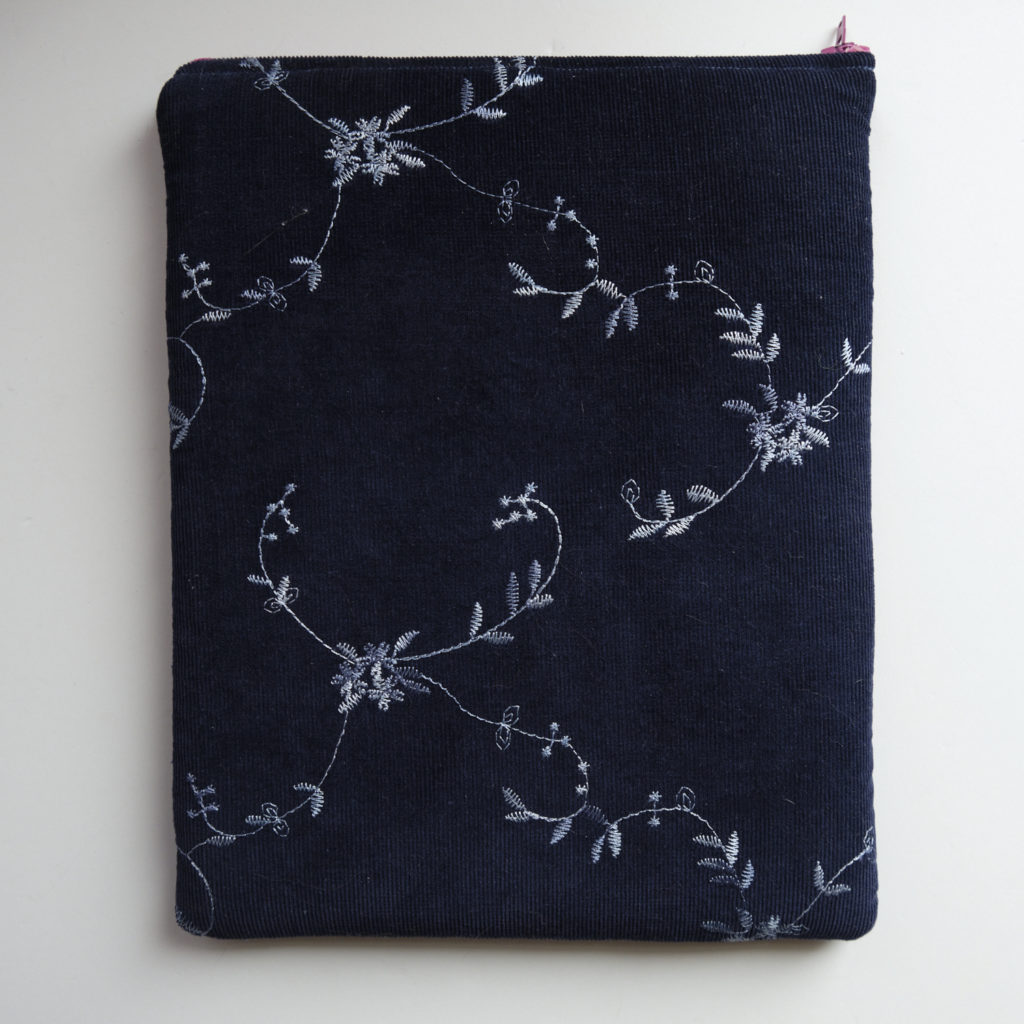
I wanted the sleeve to be snug, but this was maybe a bit too much. I worried that the zipper could damage the iPad if I were not careful. But after a couple of times getting it out and putting it back in, the sleeve had stretched a little bit more and the fit was better.
I’m quite happy with this sleeve, and I may make another one in the future with a pocket to put the cable in. But for now, this sleeve is sturdy, pretty, and it protects my iPad quite well.
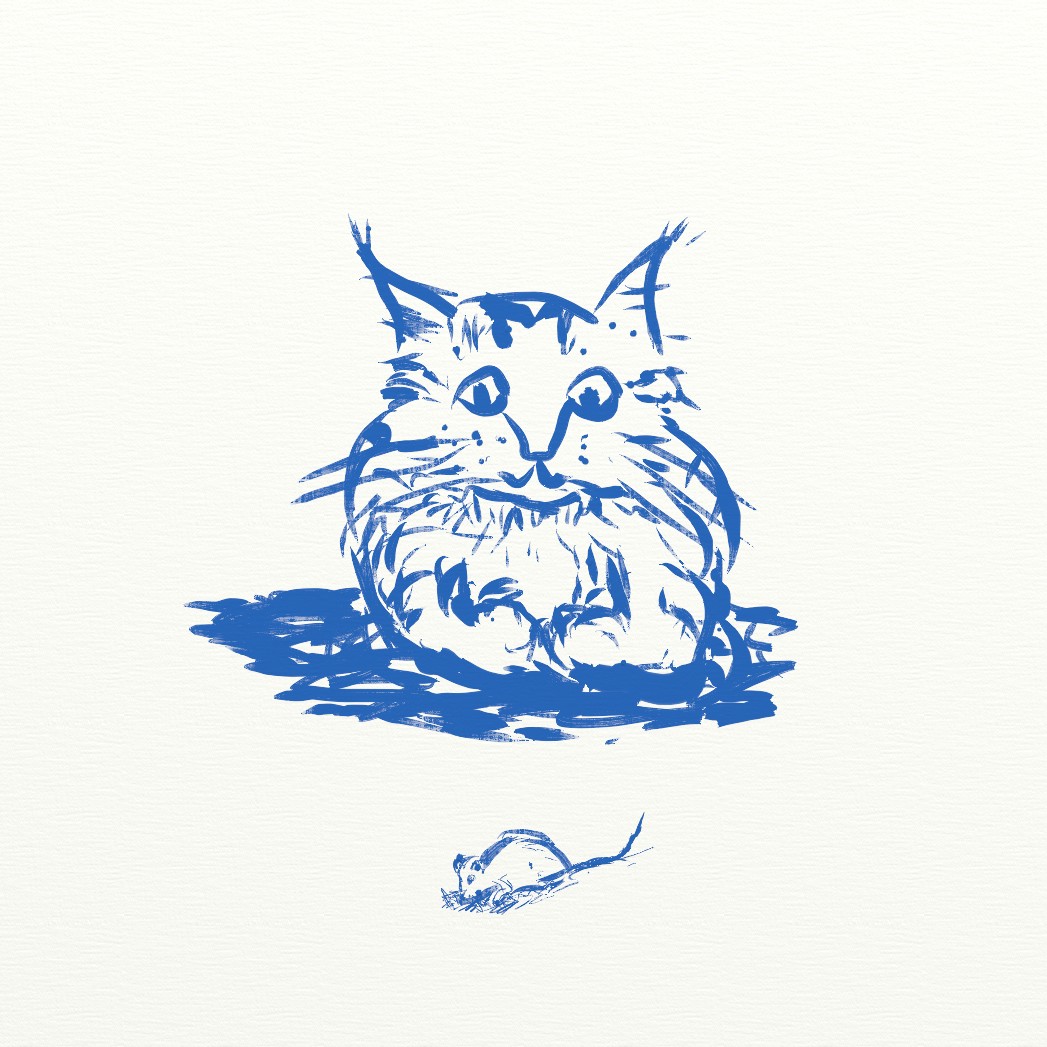
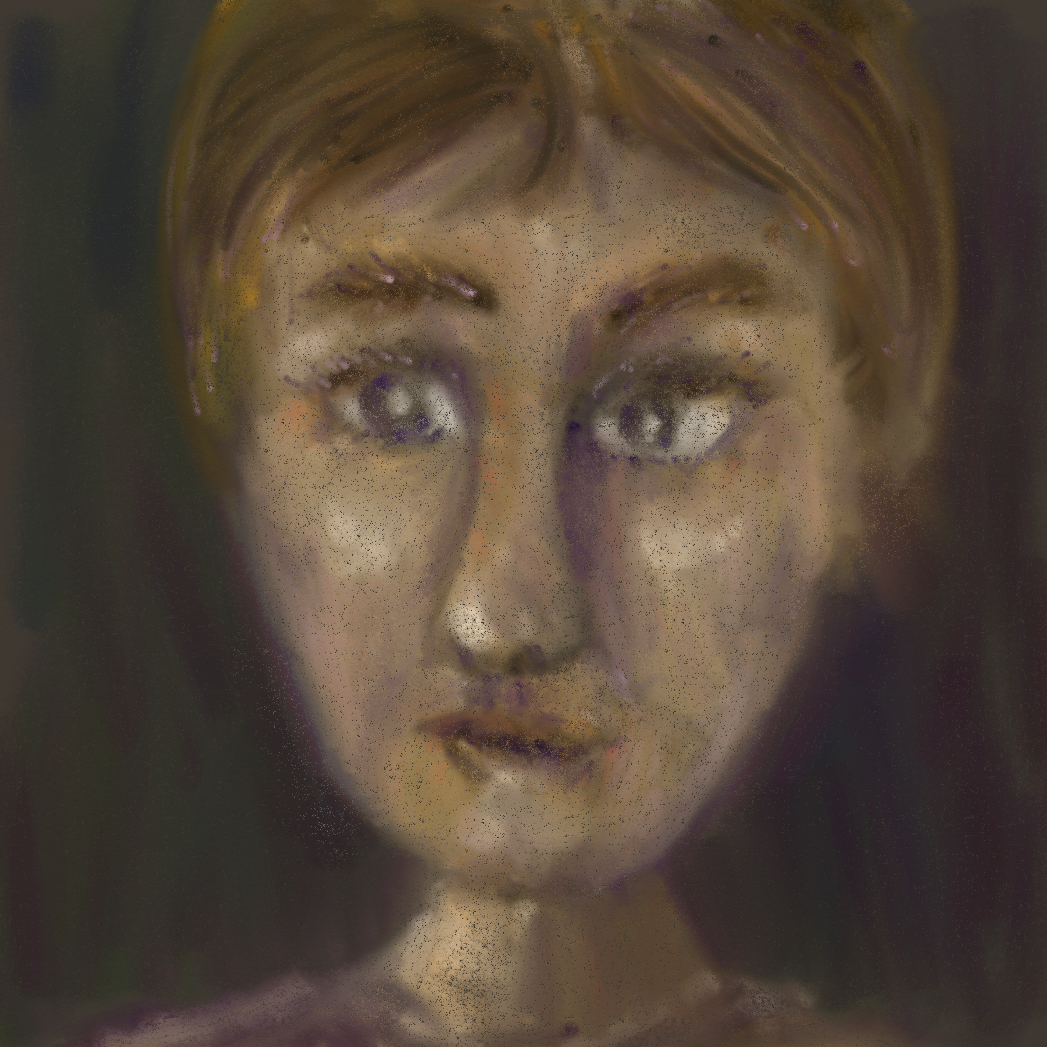
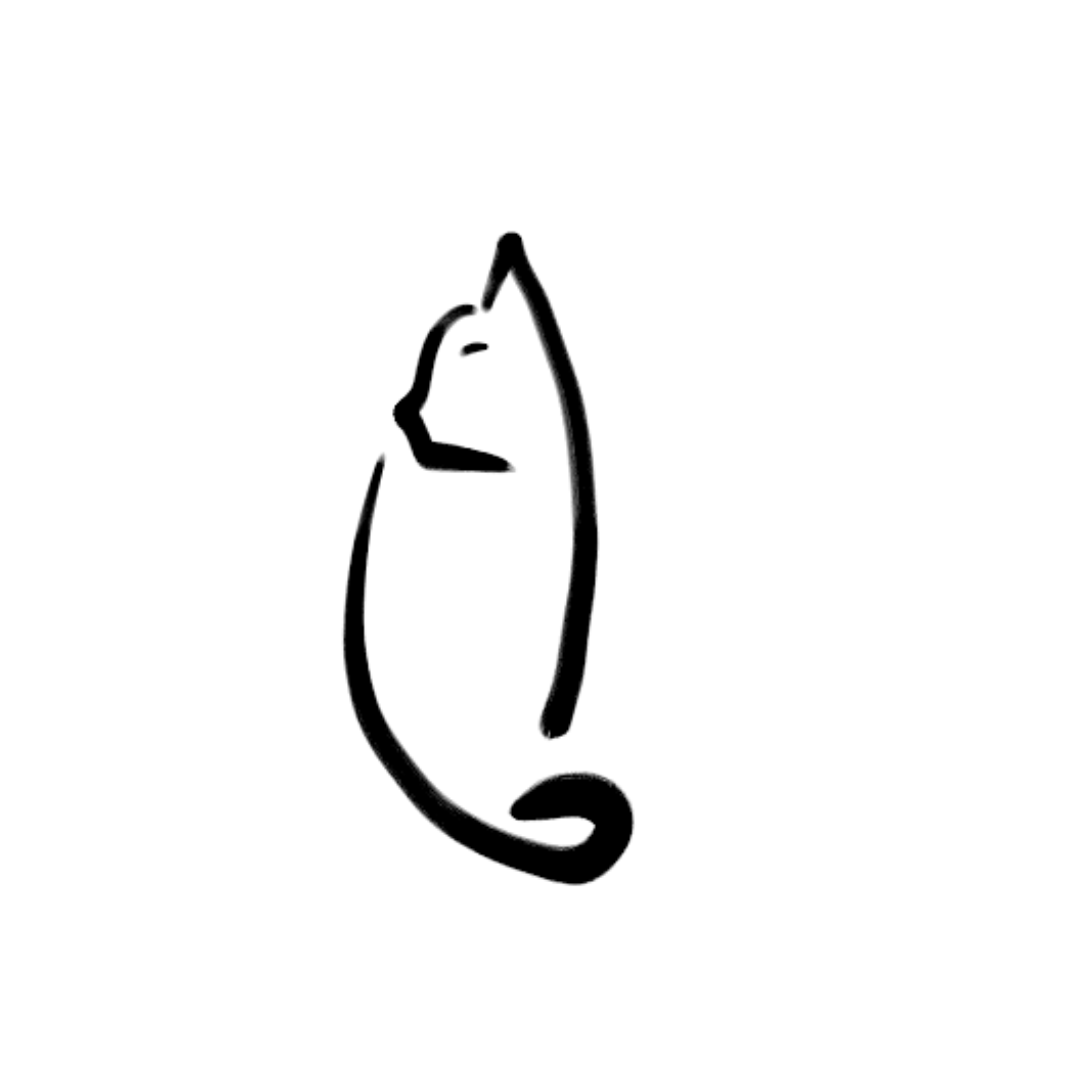
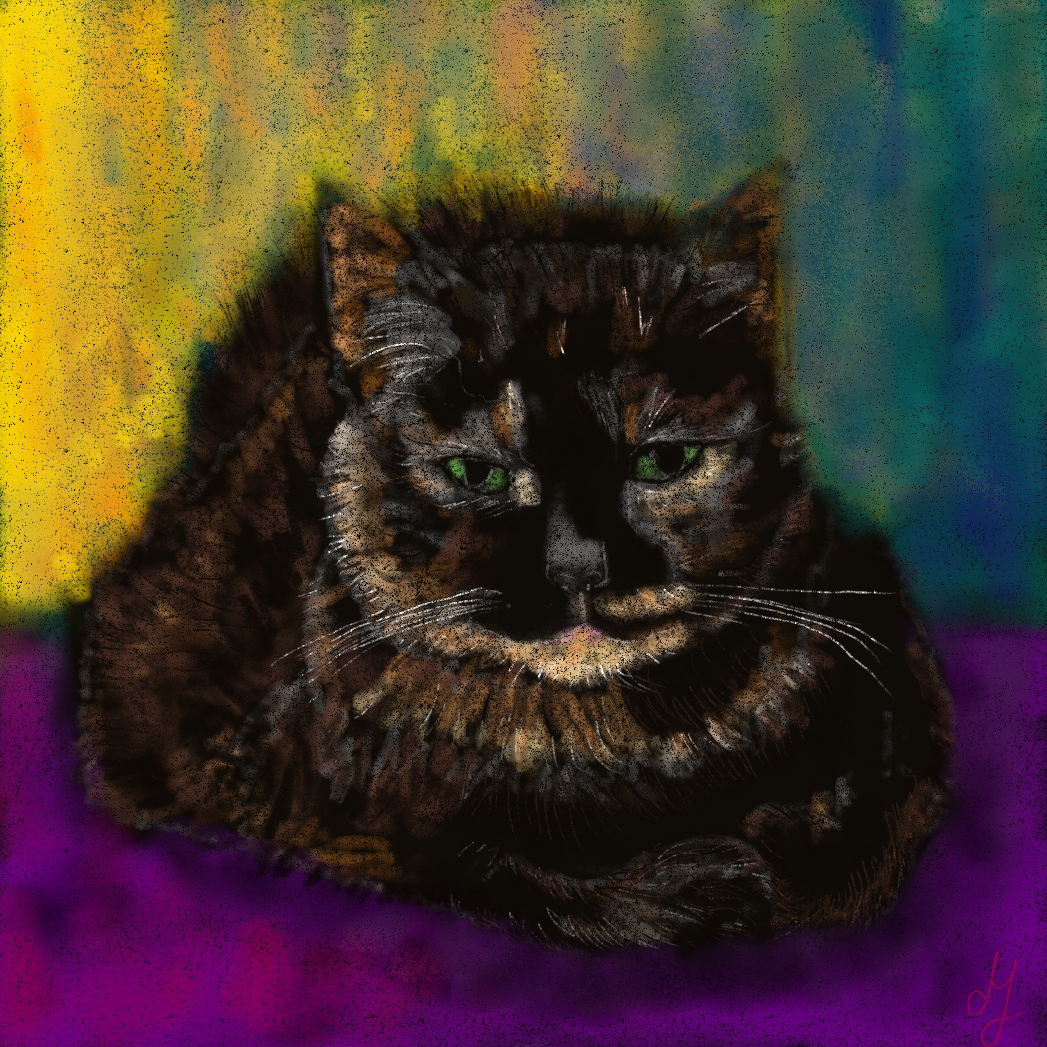
Meanwhile I have started painting on the iPad and it’s awesome. I’m using Procreate, and that is a very nice program for the kind of drawing/painting I do. You can even create (or import) your own brushes.
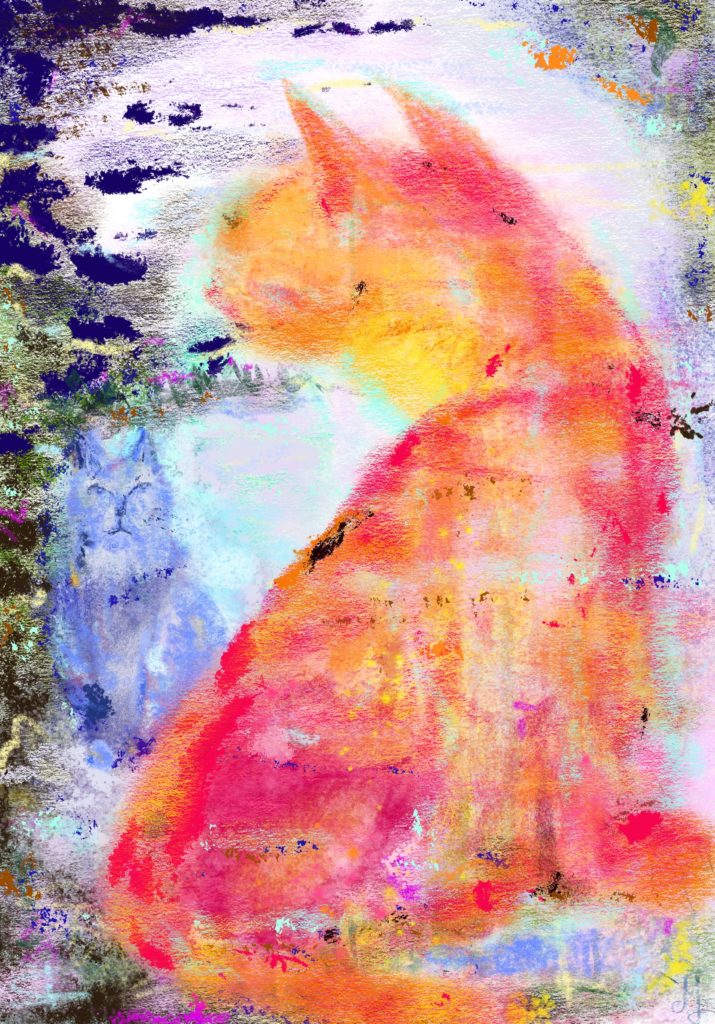
Cats 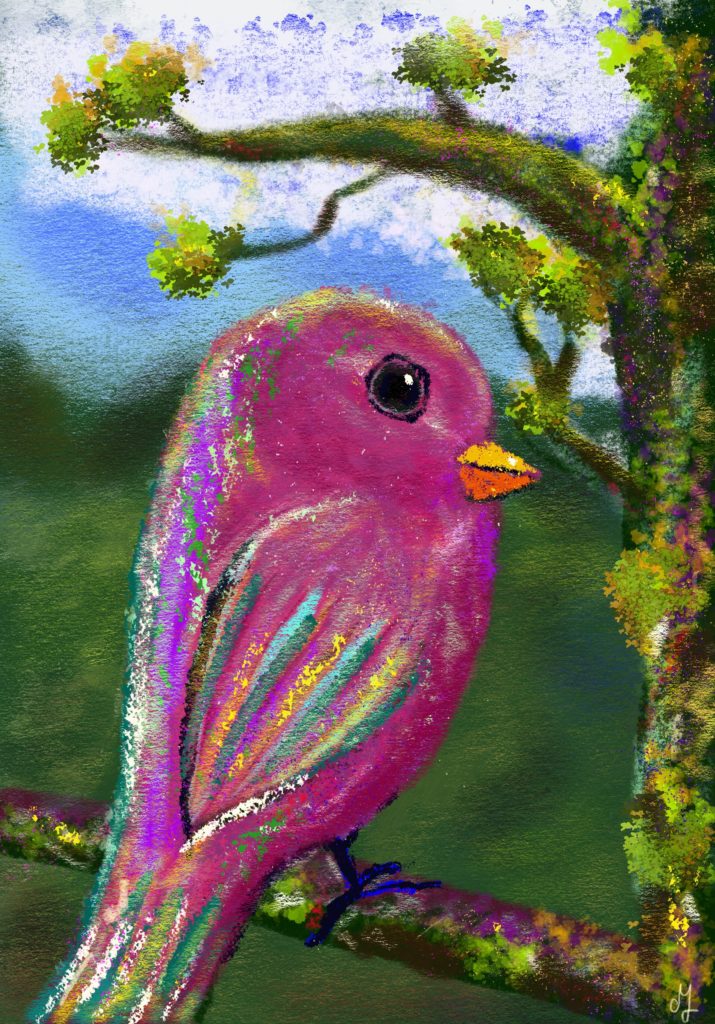
Little birdie