Ever since my workshop with Emma Redfern in England, I have felt inspired to do some more sewing now that I now what I’m doing (or so I think). So, a couple of days ago, I cleaned up my drawing table and took out my sewing machine instead. In my head, I was planning a larger bag with a shoulder strap, and perhaps with an interior pocket as well.
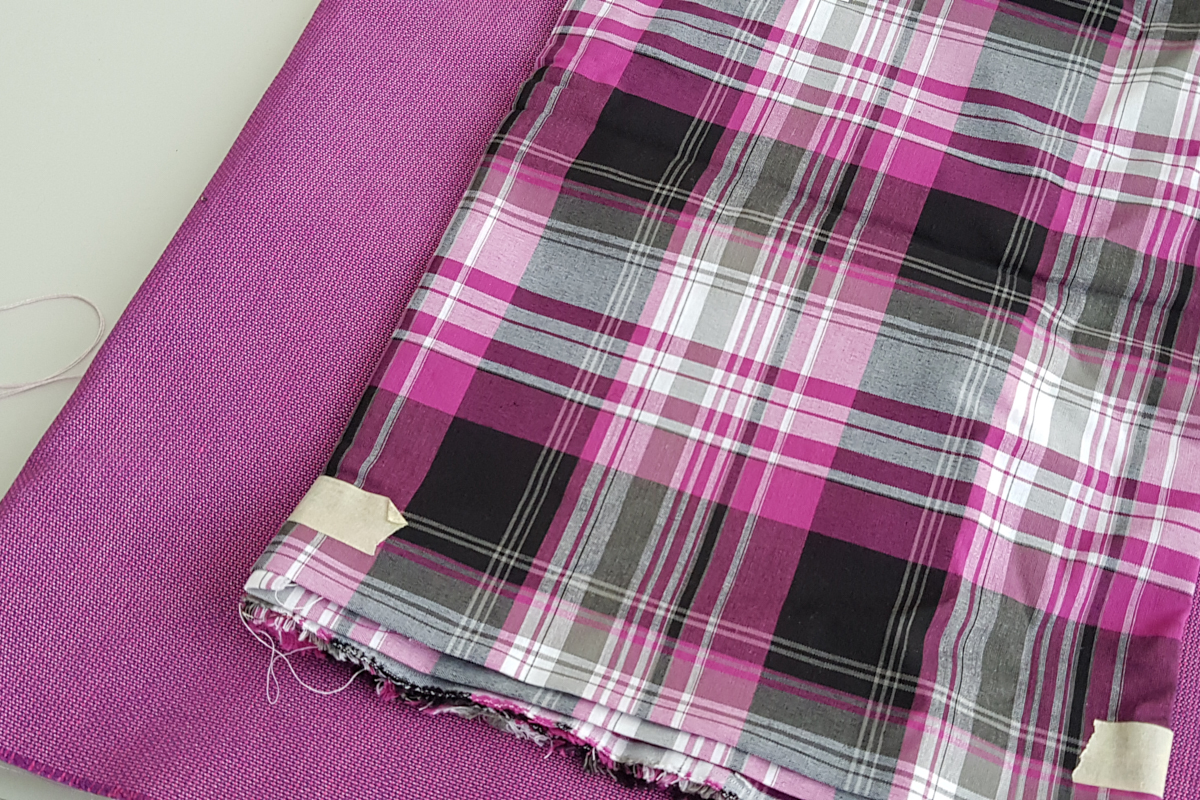
My rather small fabric stash only contained thinner, more fragile fabrics that would not be suitable for the outside of a bag. It also mainly consists of smaller leftovers, just enough to make a small bag or a pocket. So I visited a local fabric shop and found some nice pink (leftover) canvas fabric. Perfect! At home, I found out that I had some pink tartan patterned fabric that would make a great lining.
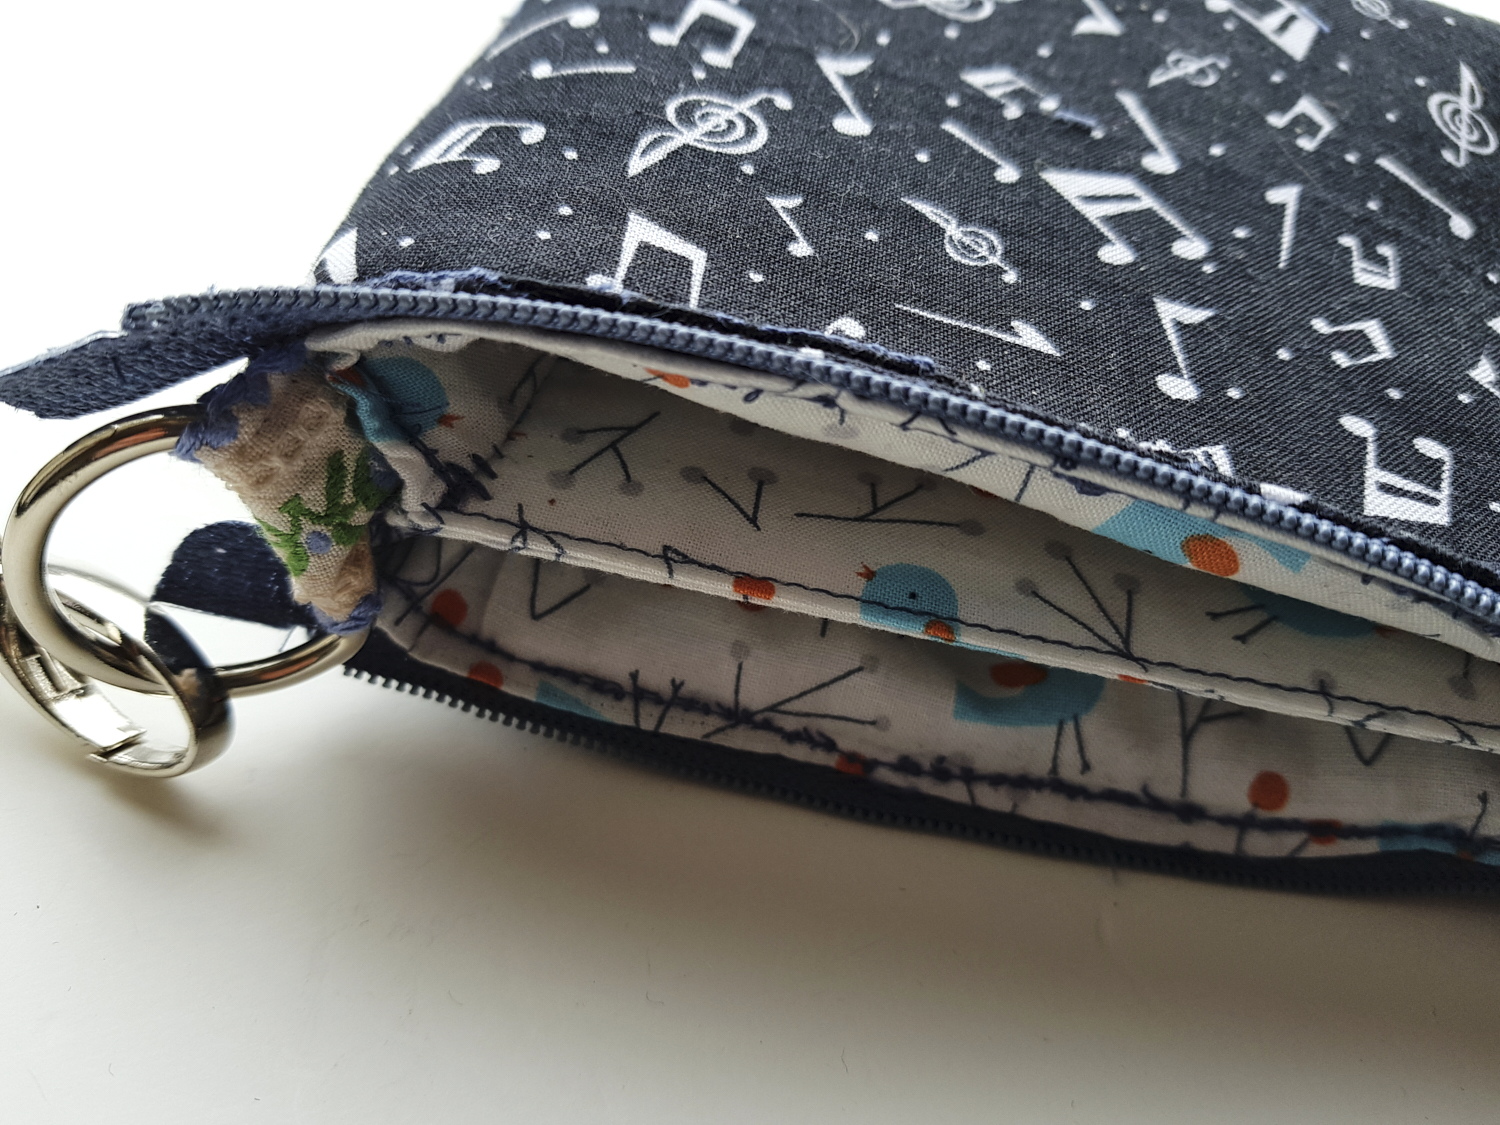
So, there was plenty of fabric, and now I had to come up with a plan. I decided to try and incorporate a zipper at the top of the bag, and a zippered pocket on the inside as well. When looking at other people’s creations, I always like it if there is something unexpected, so I decided to make the interior pocket with a bit of playful bird(house) fabric that I found in my stash. I would also need to attach D rings to the bag so that a strap could be attached, and I decided to add a top stitched pocket as well. Big plans!

I had found some zippers in my stash, and decided to go with the longer one (33 cm). It’s rather sturdy one, which I like for bags. For the interior pocket, I selected a shorter pink one.
I watched a YouTube video about adding an interior zippered pocket. That was very helpful. I also read a tutorial about adding a zipper to the top of a bag. And then I started thinking up the pattern in my head. Before I started cutting the fabric, I wanted to make sure that I knew what I was going to do, and in what order.
The width of my bag depended on the length of my zipper. I was going to box the bottom corners, so it would become narrower than the full width of the fabric piece. In the end, I decided to start with rectangular pattern pieces, and have a wide bottom (10 cm) and narrow(er) top (6 cm).
I ironed the interfacing to the wrong side of my fabrics. Then I cut out two rectangles from the outer fabric and two similar rectangles from the inner fabric. Additionally, I cut out two rectangles from the foam that I was going to put in between for a more sturdy bag.
Then I created an outer bag (outer fabric + foam) by first sewing the bottoms together (right sides facing), then the sides, and then boxing the corners.
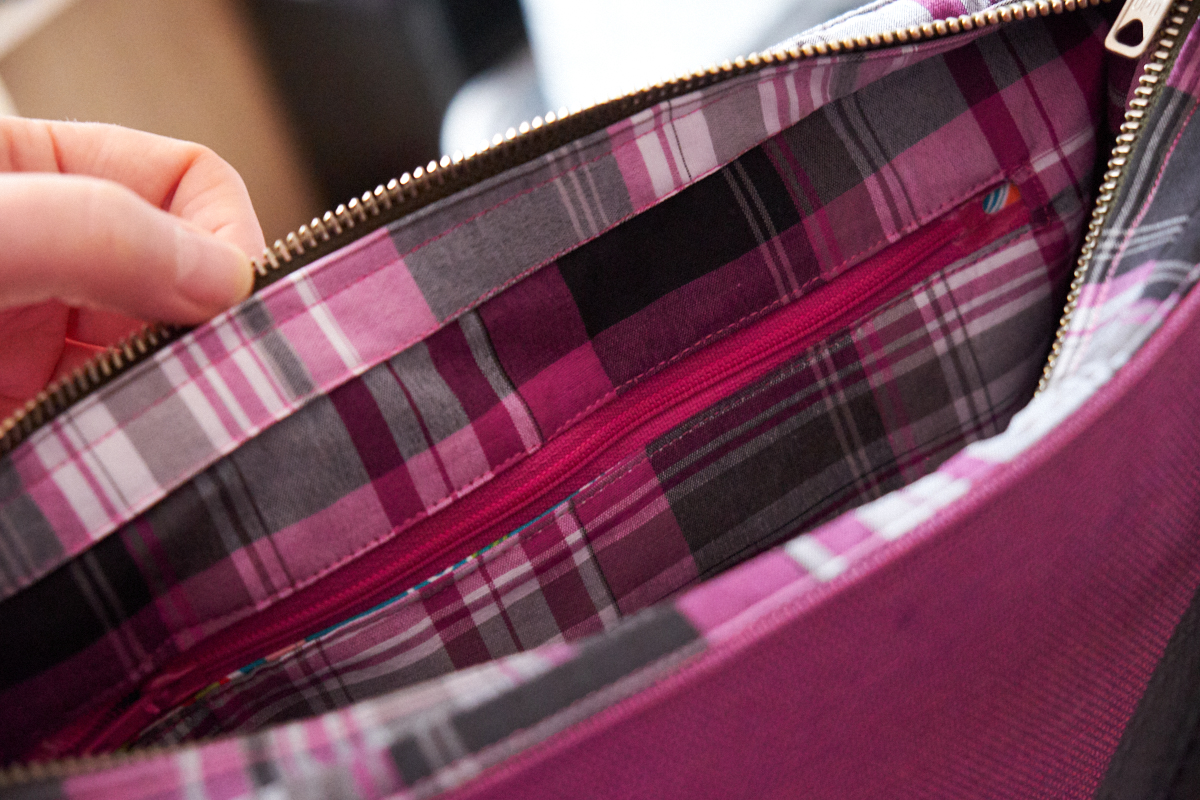
I went on to create an inner bag. First, I sewed the bottoms together (right sides facing). Then I inserted the interior zipper pocket into one side of the interior bag, and the top stitched pocket on the other side. Unfortunately, the top stitched pocket was too small for my cell phone, but I decided to continue anyway. Then I found out that putting it vertically, the bottom of the pocket was too low with the boxed corners. So I had to redo it. Oops!
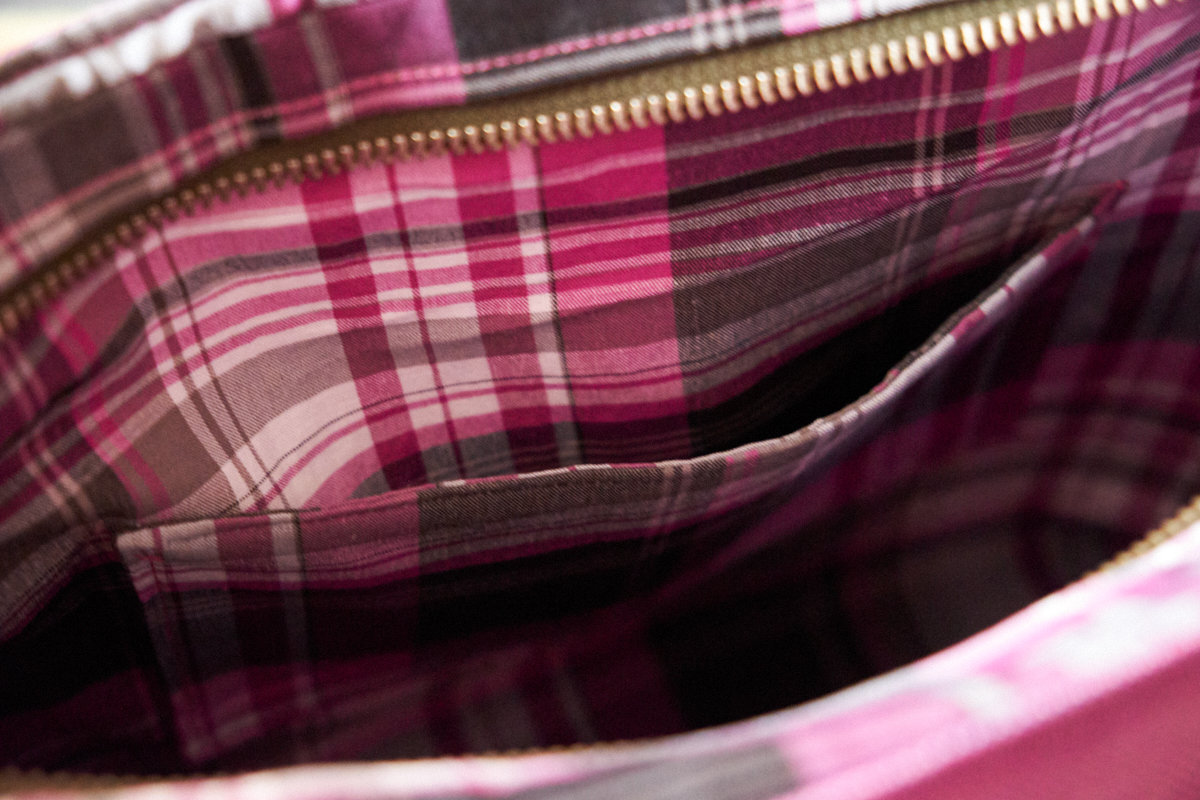
Also, the zippered pocket works, but it isn’t very neat. I made the slit too long and you can see past the zipper. Oops again!
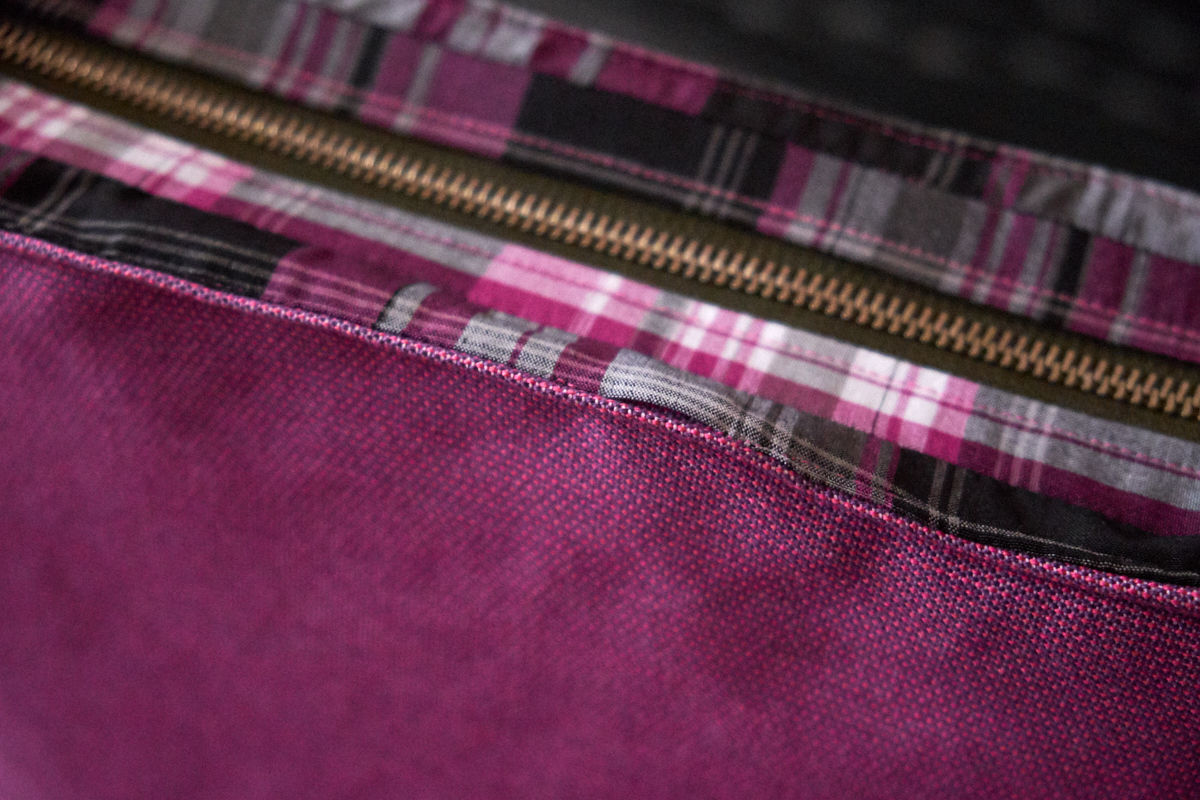
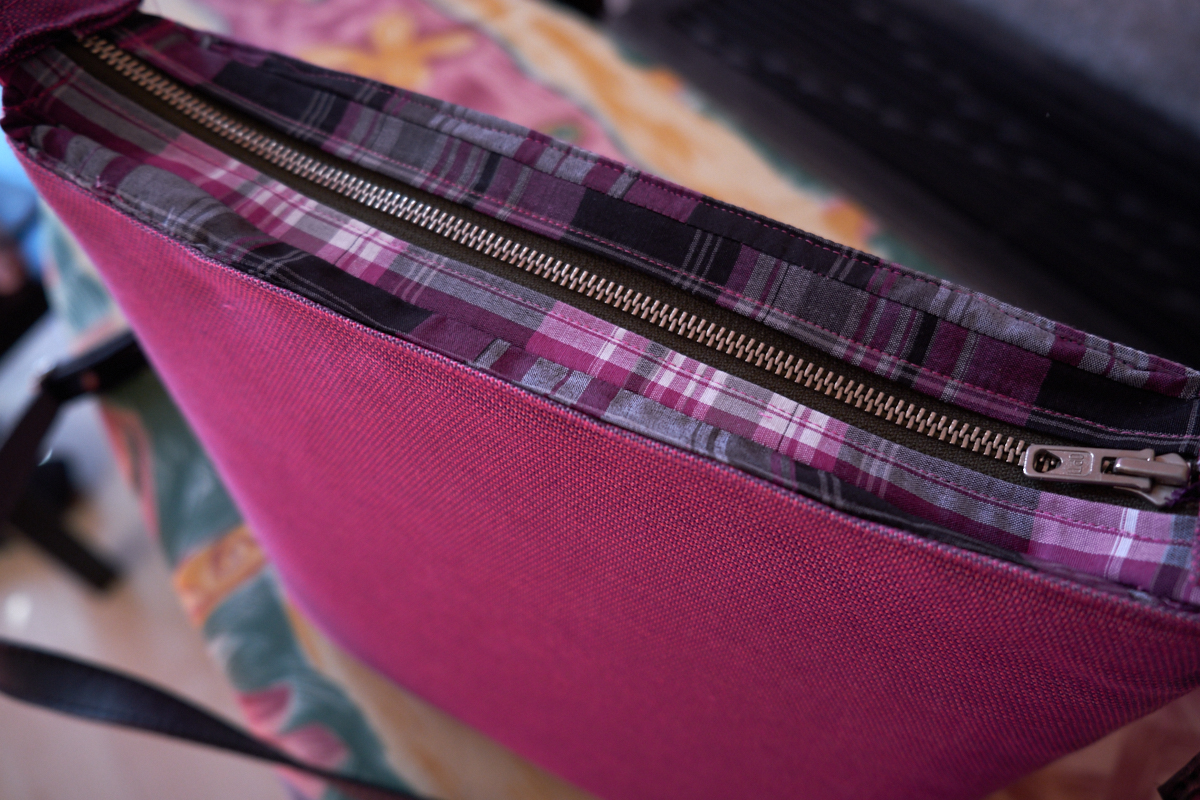
Then I made two zipper holding (folded) pieces of fabric to make the top zipper look better. I sewed in the zipper about 6cm down from the top, and it looked okay. So I finished the inner bag by sewing the sides together and boxing the corners.
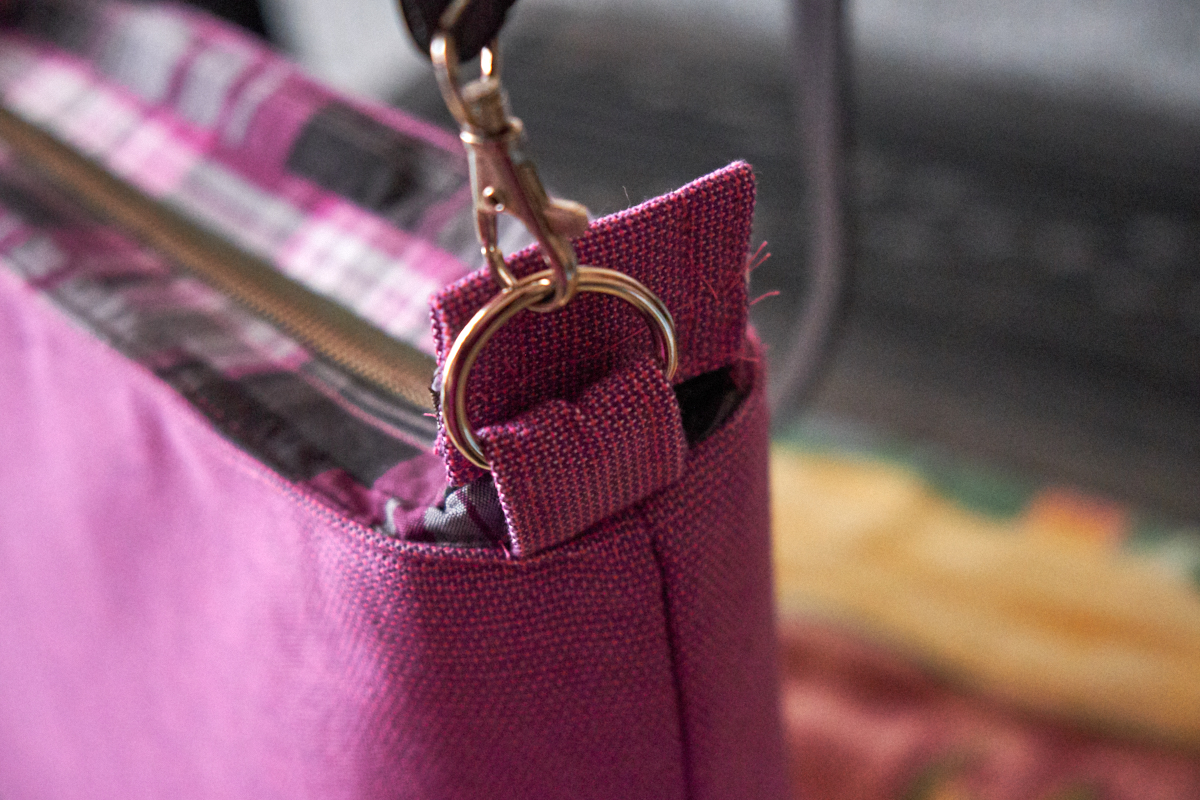
I also folded up some outer fabric creatively to create some rectangular bits that could hold the D rings at the sides. The first two did not work, because I could not turn them to get the right side out. So I made two other thingies that worked. Phew! Top stitching is my friend.
I joined the inner and outer bag, and there was another oops… I had reversed one of them – that would not do! But I had already cut away the excess foam… that would mean that the bag would become less tall, because there was no room left for a seam. Oh well. So I undid the stitching, put the bags inside each other, right sides facing, and also stuck in the D ring thingies in the sides (it took me while to figure out how and where to insert them.
Then there was a true test of my Toyota RS2000 sewing machine. It’s a cheap, plasticky machine that does all the basic stuff, but I had my doubts if it could successfully sew through two layers of foam, four layers of fabric, and D ring thingies. But it worked! It did become quite hot, though. And the thickest bits were difficult, causing the D ring thingies to move around a bit. But all in all, the bag was sewn together!
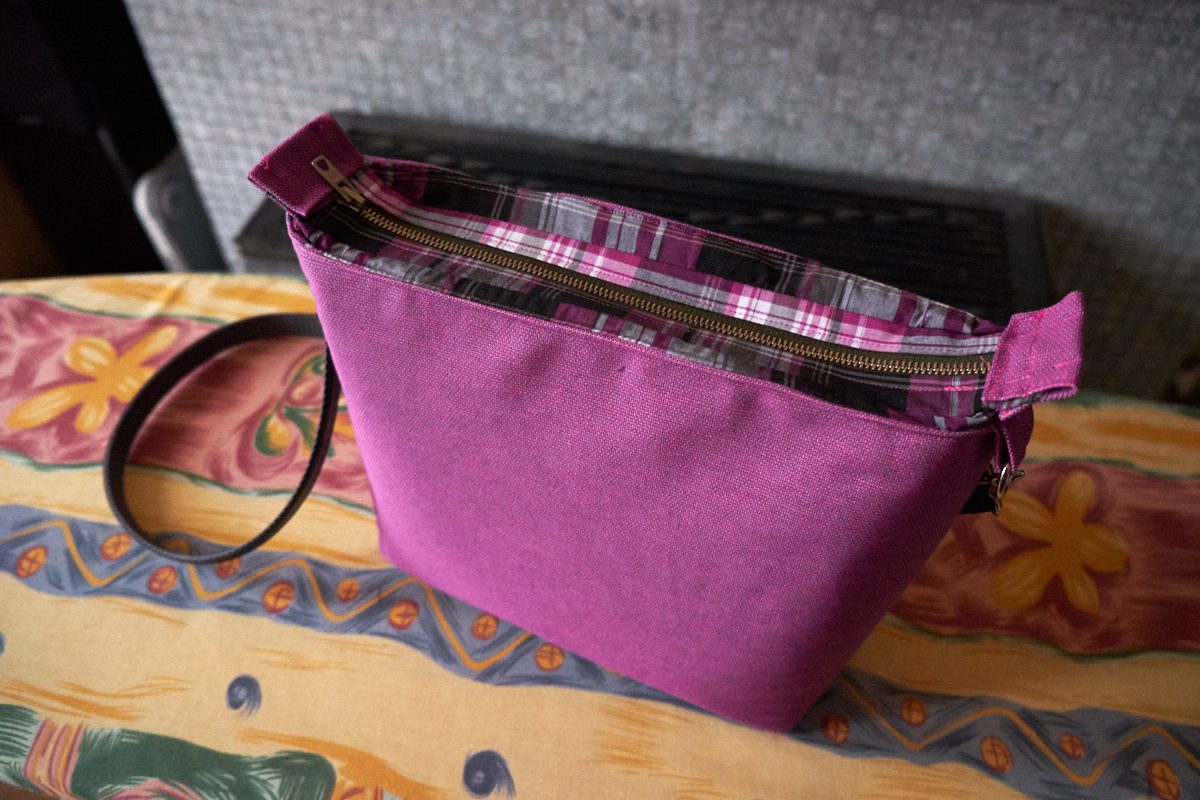
I turned everything right side out, and was amazed that it actually worked! Of course, there was still a hole, and I top stitched around the bag to close it. The machine couldn’t deal with the thick sides, so I skipped those.
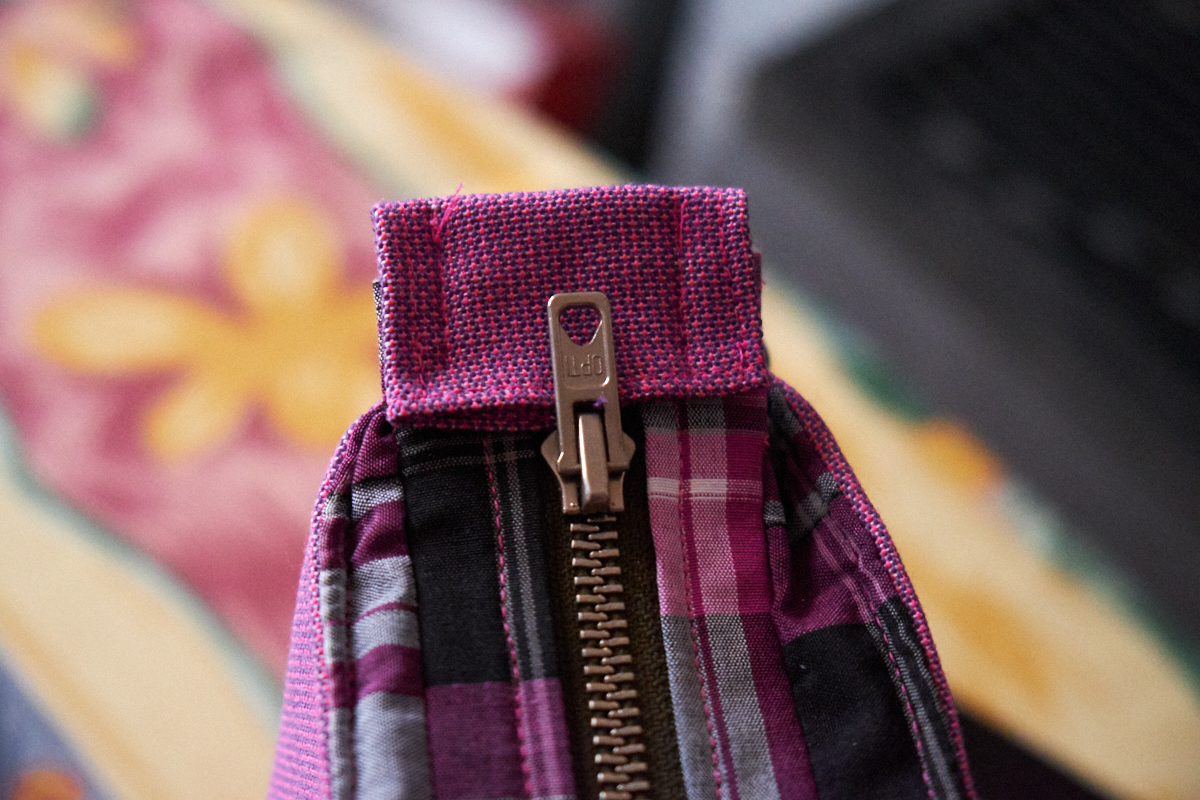
I was not entirely happy with the zipper yet. It was lacking something. So I took some more fabric, folded it over, and sewed it to both ends of the zipper to stop it from falling off, and to give you something to hold on to when opening and closing it. Now it was done!
I particularly love the surprise of the lining of the interior pocket. Birds and birdhouses and colour and fun!

Today I saw that my top stitching left a little hole in the top. So I redid it, it’s a bit messy, but at least it’s closed now.
I loved making this bag! I’ll take it with me the next time I go outside to test it. The shoulder strap is borrowed from another bag that I have, because I didn’t feel like making one. I think the bag may need a dark grey strap, though.
I will probably make this (or a similar) bag again, now that I know what I’m doing (sort of). Some things I want to focus on:
- Find a better solution for the top zipper ends. Perhaps add some rivets?
- Make sure to be very precise when adding a zippered pocket to avoid the hole.
- Cut away as much excess fabric/foam as possible to make it easier for my sewing machine.
- Add some decoration to the outer fabric before sewing the bag.
- Add another interior pocket, and make sure that it has useful dimensions for me.
- Add a separator (with zipper?) with foam in it, so that I can put my ebook reader in there and have it be well-protected.
- Get a slightly longer zipper and adjust the pattern accordingly.
- Get and add bag feet (I wanted to do that this time too, but I had to order them and was too eager to start to wait for them).
- Don’t continue sewing enthusiastically when you’re getting tired, so that you have to fix mistakes and redo stuff because of lack of focus.
- Make more pictures of the intermediate steps.
- Find out the proper terminology. D ring thingie is just not right.
- Keep using plenty of interfacing and foam, it really helps for proper shaping.
- Press well in every step, it makes everything easier and more beautiful.